The Underside Of Vacuum Cooking
Cooking under vacuum, we hear about it in cooking shows for years, without knowing what it is. Not to mention that this is the culinary trend of the hour among foodies and the greatest chefs on the planet. To satisfy our thirst for curiosity, nutritionist Christina Blais demystifies this intriguing cooking technique.
Just Right
It is no coincidence that vacuum cooking is also called cooking at the right temperature: there is no better way to control the temperature of the food when it is cooked. Do you like your perfectly rare steak every time? With vacuum cooking, it will be.
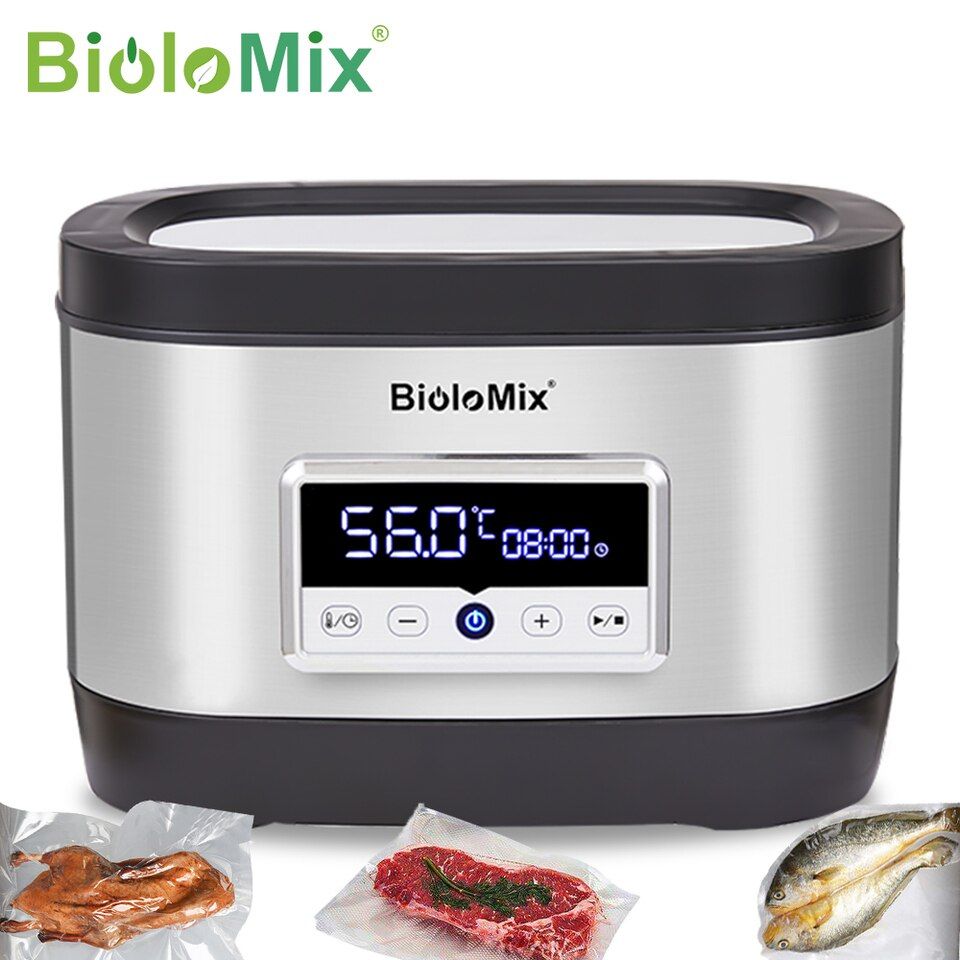
Its principle is simple: we seal food in a plastic bag, after removing the air (as in the photo). Then, we immerse it in a water bath heated to the temperature that we want our food to reach once cooked. Take the example of a fish fillet, the perfect internal cooking temperature of which is 63 ° C (145 ° F). To cook it under vacuum, simply immerse it in a water bath heated to 63 ° C (145 ° F) and wait until it too reaches the same temperature. No more complicated.
STRESS-FREE COOKING
Even if we forget our food in the water bath, there is no danger that it will cook too much, because the temperature of the cooking bath is the same as the final temperature sought. Better still: the cooking of the food is uniform since its temperature is just as much.
The Necessary Equipment
›FOR VACUUM PACKAGING
Plastic bags: Two types of bags can be used. Bags sold with a vacuum packaging device (FoodSaver type) or freezer bags with a zipper (Ziploc type). These bags are completely safe because the type of plastic they are made of is approved for food contact and does not risk melting at the cooking temperatures used.
A FoodSaver type wrapper: It is used to create a vacuum. If you do not have one, you slowly submerge the partially closed bag in the water bath, until the water reaches the level of the slide. The weight of the water then pushes the air out of the bag. Then seal the slide quickly.
›FOR COOKING
For vacuum cooking, chefs usually use very expensive specialized equipment, such as vacuum bells and thermal circulators. There are two more economical options for the home. 1) Improvise a heated water bath using a pan on the fire or 2) buy a tool called an immersion heater.
A pan of water on the fire: This is the least expensive option, as it only requires the purchase of an electronic thermometer to monitor the temperature of the water. However, it does require a lot of monitoring to ensure that the temperature remains constant. The heat must be constantly adjusted and ice cubes added if the bath gets too hot. What is less practical for cooking which lasts several hours…
An immersion heater: This is a small cylindrical device with a thermostat, a heating rod and a pump that is fixed on a pan filled with water. The immersion heater (which operates on electricity) heats the water to the desired temperature and circulates it constantly. The cooking is exact and is done without any supervision. Cost: around $ 200.
>WHY COOK UNDER VACUUM?
> It’s delicious. Since it is enclosed in a bag and cooked at low temperature, the food retains all its flavor and loses less juice. Tough meats become more tender since they cook for several hours.
> It’s precise. All foods that cook in bags at the same time have exactly the same cooking. Ideal when you have a group and want to make sure that all of our pieces of meat are cooked the same way.
> It is convenient. Once the food is sealed in its bag, cooking is done practically without supervision and there is no danger that it will cook too much.
›It’s versatile. Sous-vide cooking lends itself as much to cooking fruit, vegetables, meat, poultry, fish and seafood as it does to recipes that require exact cooking, such as custard or boiled eggs.
Vacuum Cooking In 5 Steps
1. PREPARE AND SEASON FOOD
Since they do not cook at the same temperature, fruits and vegetables should be cooked separately from meats. Foods are usually cooked in individual portions to shorten the cooking time. The seasonings should be simple, because cooking under vacuum preserves all the aromas, so all you have to do is add a few spices (herbs, spices, shallots, salt, pepper) and that’s it. Fats and liquids are not required.
2. BAGGING, VACUUMING AND SEALING
The food and seasonings are placed in a plastic bag. The air must then be removed from the bag. Otherwise, it will float on the surface of the water bath, which will prevent the food from cooking evenly.
3. DETERMINE THE TEMPERATURE AND COOKING TIME
These depend on the type of food, its density and especially its thickness. Determining the cooking time is the most difficult step in vacuum cooking. Fortunately, there are cooking guides on the web for a multitude of products and recipes. The cooking time can range from 1 hour for a 2.5 cm (1 inch) steak up to 36 hours for a tough cut of meat (long cooking can soften the elastic collagen fibers).
4. COOK THE SACHETS IN A WATER BATH
It’s time to immerse the food in a pan on the fire or a container with an immersion heater until it reaches the desired temperature.
5. TREAT THE FINISH
The vacuum technique cooks food to perfection, but it has a drawback: although most food can be served as is, when it comes out of the bag, the meats have a grayish appearance. To correct this defect, brown them in a frying pan, on the barbecue or using a torch to add color and a tasty toasted crust.
IS IT SAFE?
Sous-vide cooking uses relatively low temperatures for cooking, which could cause bacteria to grow. This is why there are two basic rules to follow.
- The temperature of the cooking bath for meat, fish, and seafood must at least be set at 55 ° C / 131 ° F (60 ° C / 140 ° F in the case of poultry). Dangerous bacteria are slowly destroyed by heat from about 55 ° C / 131 ° F.
- Unopened sachets that are not consumed immediately after cooking should be cooled quickly. They should also be kept in the refrigerator and consumed within three days. 0 sachets can be safely frozen for several months.
Experience of Vacuum Cooking
Sous-vide cooking is especially appreciated for the uniformity of the cooking of meats. This experiment carried out with slices of beef tenderloin 2.5 cm (1 in) thick, shows this clearly.

FRYING PAN
This slice of tenderloin was cooked in a pan over high heat and turned twice until its internal temperature reached 57 ° C / 134 ° F (rare cooking). As with all meats grilled in this way, there is a strip of grayish flesh, overcooked, on each side. Only the center of the room is pink.

SOUS VIDE COOKING
This slice was cooked in a vacuum bag, in a water bath set at 57 ° C / 134 ° F using an immersion heater, for 1 hour, i.e. the suggested cooking time to reach 57 ° C / 134 ° F to heart. The steak was then quickly browned in a pan on each side, enough time to brown it. Since the temperature of the meat can never exceed that of the cooking bathwater, the cooking is perfectly uniform from start to finish.
Montreal steak spice sous vide
- Preparation: 15 minutes
- Cooking: 2 hours
- Servings: 4
Ingredients:
- 1 ½ lb (675 g) 4 cm thick (1 ½ in.) Bib, cut in half
- 20 ml (4 tsp.) Old-fashioned mustard
- 1 small shallot, finely chopped
- 10 ml (2 tsp) Montreal steak spices (see note)
- Olive oil
- Salt and pepper
Preparation:
- In a bowl, coat the meat with mustard, shallot and steak spices. Place each piece of meat in a vacuum cooking bag. Close the bag by removing the air.
- Attach the immersion heater to a saucepan filled with water and set the temperature to 57 ° C (134 ° F). When the water reaches the desired temperature, immerse the bags in the water. Cook the meat for 2 hours for pink cooking (see note) for a 4 cm (1 ½ in) flank steak.
- Preheat the barbecue on high power. Oil the grill.
- Remove the meat from the bag and drain. Oil the meat. Salt and pepper. Quickly grill the meat, about 1 minute per side. Adjust the seasoning if necessary.
The meat is ready after 2 hours of cooking, but it can be left in the pan for another hour, provided the water is kept at the right temperature.
