Grilled BBQ Ribs: A Mouthwatering Delight with Irresistible Brown Sugar Rub
Welcome to our blog post on Grilled BBQ Ribs: A Mouthwatering Delight with Irresistible Brown Sugar Rub. Prepare to embark on a tantalizing journey where the smoky aroma and irresistible flavors of perfectly grilled BBQ ribs will leave you craving for more. In this culinary adventure, we will guide you through the process of creating juicy and tender ribs that are enhanced with the magical touch of a delectable brown sugar rub.
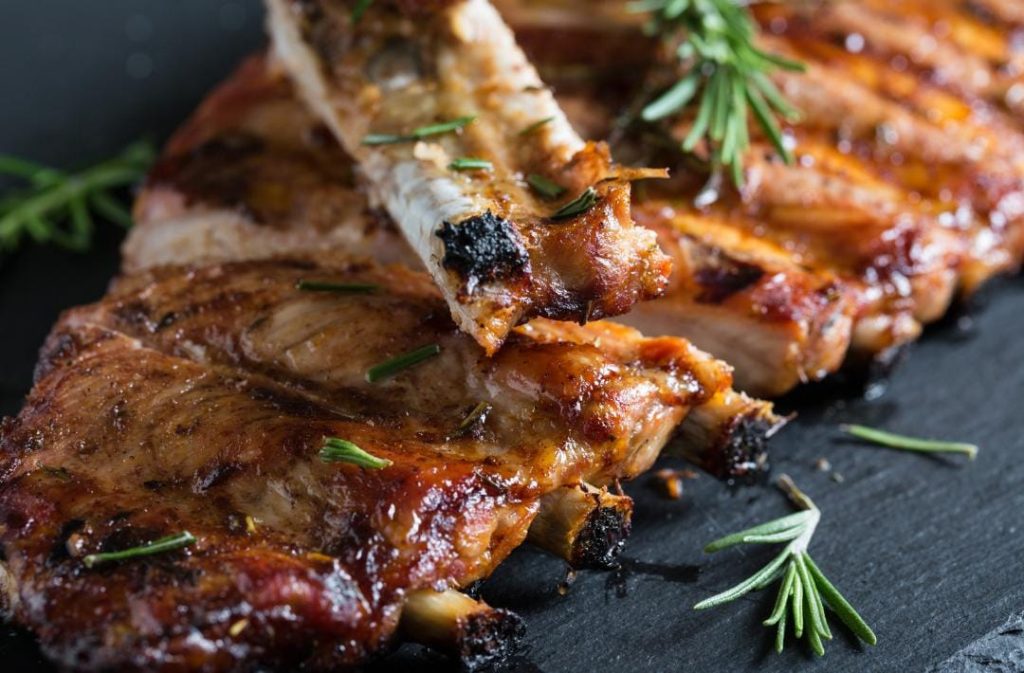
Grilled BBQ ribs are a timeless favorite, capturing the essence of backyard barbecues and gatherings with friends and family. The combination of smoky flavors, tender meat, and a perfectly balanced sweet and savory profile makes these ribs an absolute delight for the senses.
Throughout this blog post, we will share with you our expert tips and techniques to achieve grilling perfection. From selecting the right cuts of ribs to mastering the grill temperature and timing, we’ll guide you every step of the way to ensure your BBQ ribs are a culinary triumph.
So, fire up your grills, gather your ingredients, and let’s dive into the art of creating Grilled BBQ Ribs with an Irresistible Brown Sugar Rub.
Ingredients:
- 2 racks of pork ribs
- 1/2 cup brown sugar
- 2 tablespoons paprika
- 1 tablespoon garlic powder
- 1 tablespoon onion powder
- 1 tablespoon chili powder
- 1 teaspoon cayenne pepper (adjust according to your spice preference)
- 1 tablespoon salt
- 1 tablespoon black pepper
- 1/4 cup olive oil
- BBQ sauce of your choice (for basting and serving)
Equipment:

- Charcoal or gas grill
- Grill tongs
- Aluminum foil
- Basting brush
Instructions:
- Prepare the Ribs:
- Remove the thin membrane from the back of the ribs to allow for better flavor penetration. Use a sharp knife to loosen the membrane at one end, then grip it with a paper towel and peel it off.
- Rinse the ribs under cold water and pat them dry with paper towels.
- Prepare the Brown Sugar Rub:
- In a bowl, combine the brown sugar, paprika, garlic powder, onion powder, chili powder, cayenne pepper, salt, and black pepper. Mix well to ensure even distribution of the spices.
- Apply the Brown Sugar Rub:
- Drizzle the olive oil over both sides of the ribs and rub it in to create a base for the spice rub.
- Generously sprinkle the brown sugar rub onto both sides of the ribs, pressing it gently to adhere. Ensure the ribs are evenly coated with the rub, covering every inch for maximum flavor.
- Preheat the Grill:
- Preheat your grill to medium heat (around 275-300°F or 135-150°C). If using a charcoal grill, arrange the charcoal to one side for indirect grilling.
- Grill the Ribs:
- Place the ribs bone-side down on the grill, away from direct heat. Close the lid and let them cook for approximately 2 to 2.5 hours.
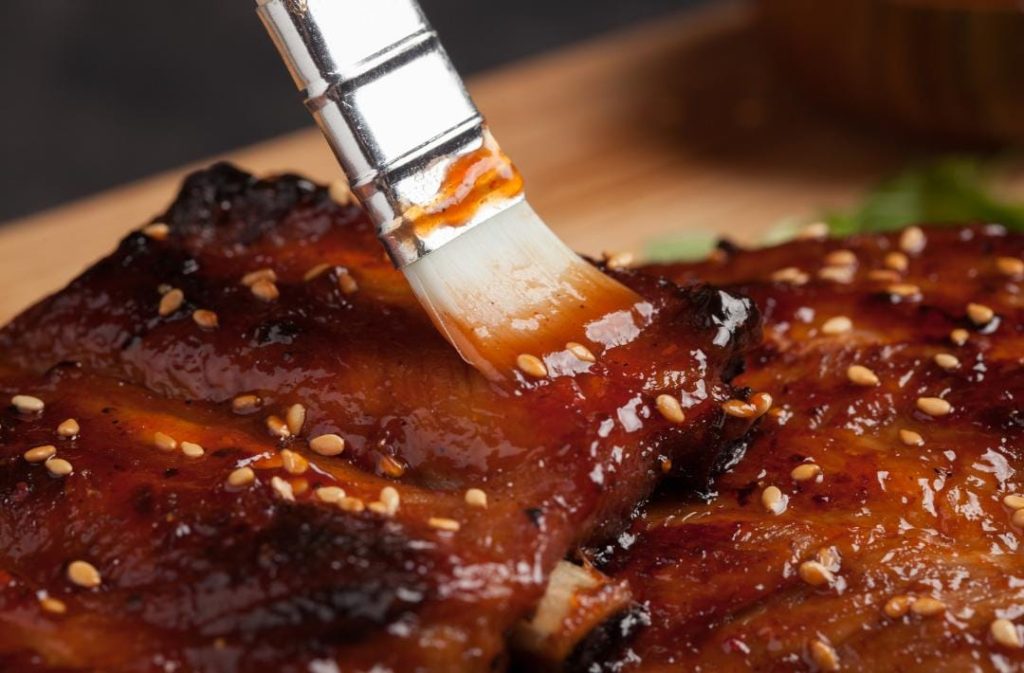
- Every 30 minutes, rotate the ribs and baste them with your favorite BBQ sauce using a basting brush. This adds extra flavor and helps keep the ribs moist.
- Monitor the grill temperature to ensure it stays consistent throughout the cooking process.
- Check for Doneness:
- To check if the ribs are done, use a meat thermometer to measure the internal temperature. It should read around 190-203°F (88-95°C). The meat should be tender and easily pull apart from the bone.
- Rest and Serve:
- Once done, remove the ribs from the grill and loosely tent them with aluminum foil. Let them rest for about 10-15 minutes to allow the juices to redistribute.
- Slice the Grilled BBQ ribs between the bones and serve them hot with additional BBQ sauce on the side.
Tips and Tricks:
- For more smoke flavor, add wood chips or chunks to your grill before cooking the ribs.
- To achieve a more caramelized crust, you can sear the ribs directly over high heat for a few minutes after they have finished cooking.
- Adjust the level of spiciness in the brown sugar rub by increasing or decreasing the amount of cayenne pepper.
- Experiment with different types of wood chips, such as hickory, apple, or mesquite, to impart unique flavors to your ribs.
Serving Ideas for Grilled BBQ Ribs :
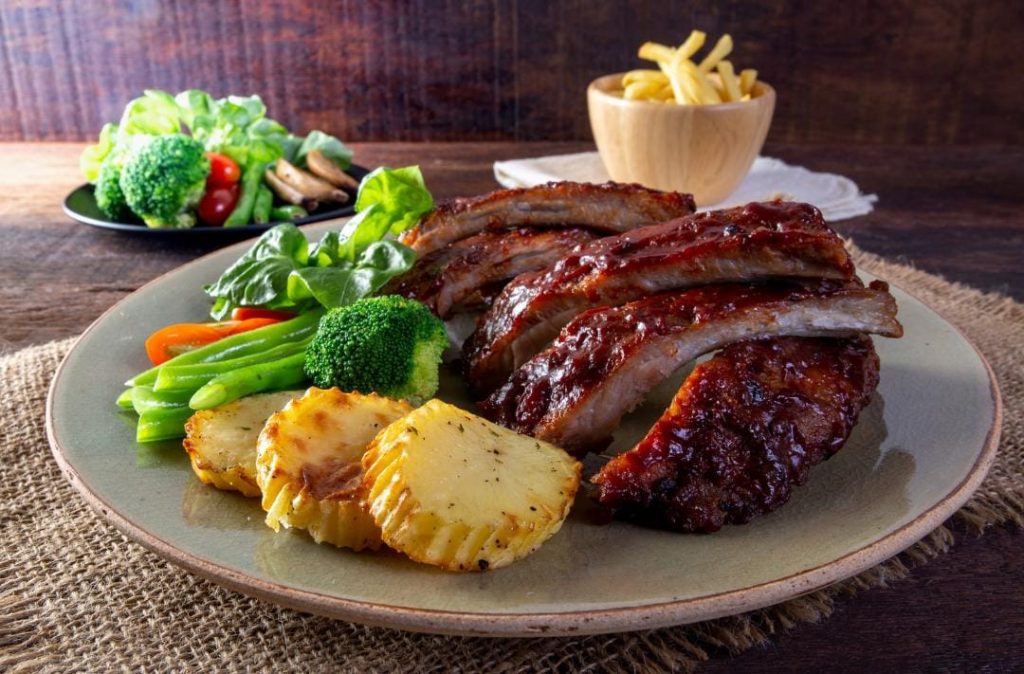
- Serve the Grilled BBQ Ribs with classic sides like coleslaw, cornbread, or potato salad.
- Create a BBQ platter by adding grilled vegetables, baked beans, and a fresh garden salad.
- Pair the ribs with refreshing beverages like iced tea, lemonade, or your favorite craft beer.
Now, gather your friends and family, fire up the grill, and savor the mouthwatering delight of Grilled BBQ Ribs with an irresistible Brown Sugar Rub. Get ready for a flavor-packed experience that will leave everyone craving more!