101 Guide On Biolomix Sous Vide Cooker
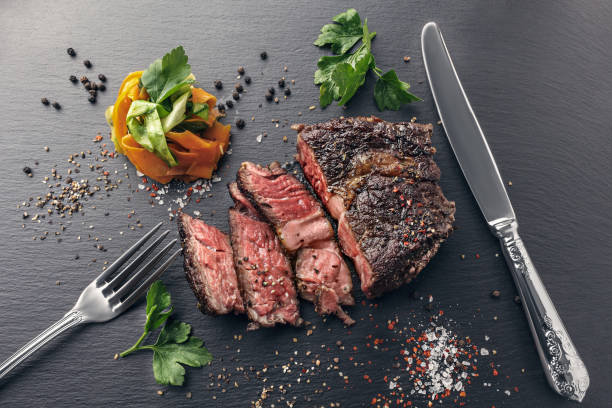
Biolomix Sous vide cooking is not just for entrées, even though it is the ideal technique for the most tender, juicy, and tasty chicken breasts ever!
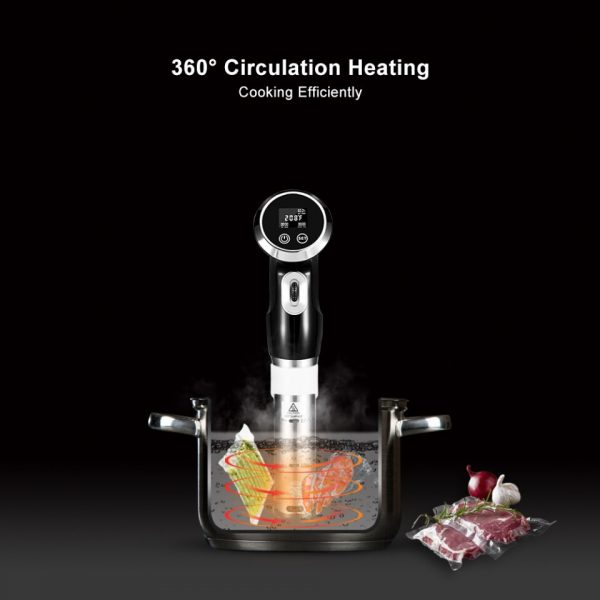
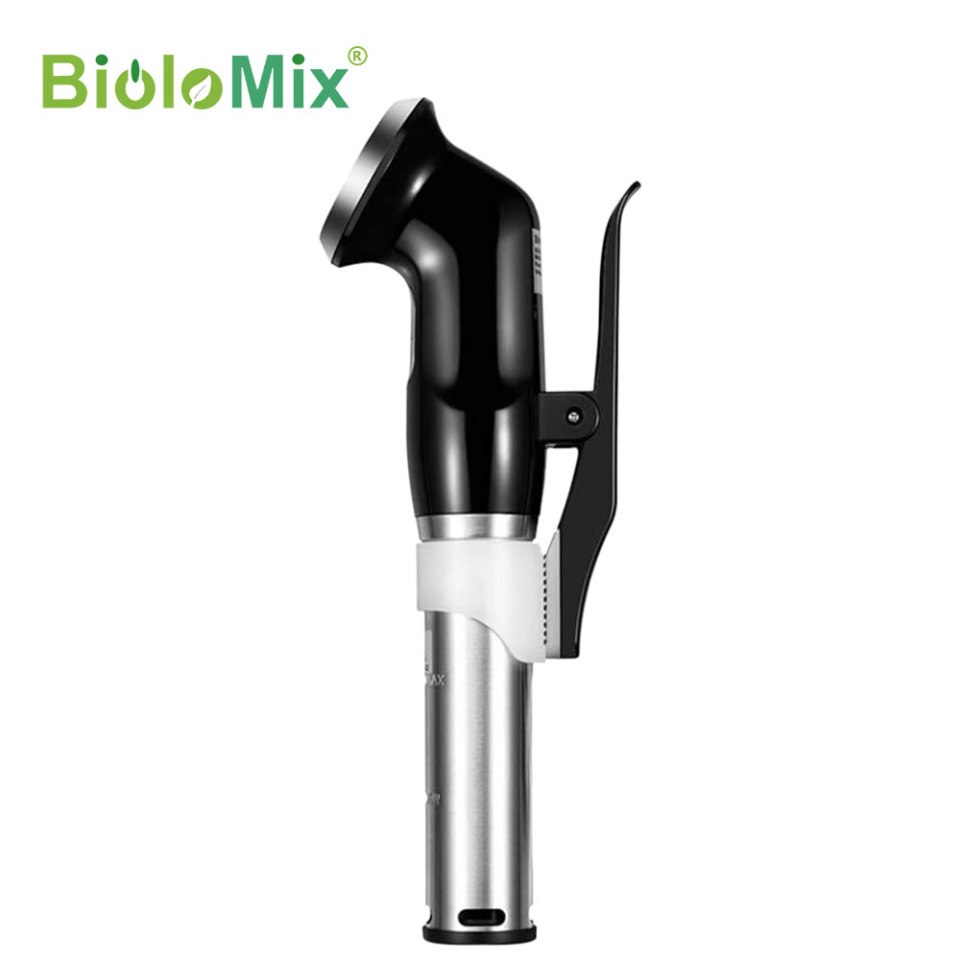
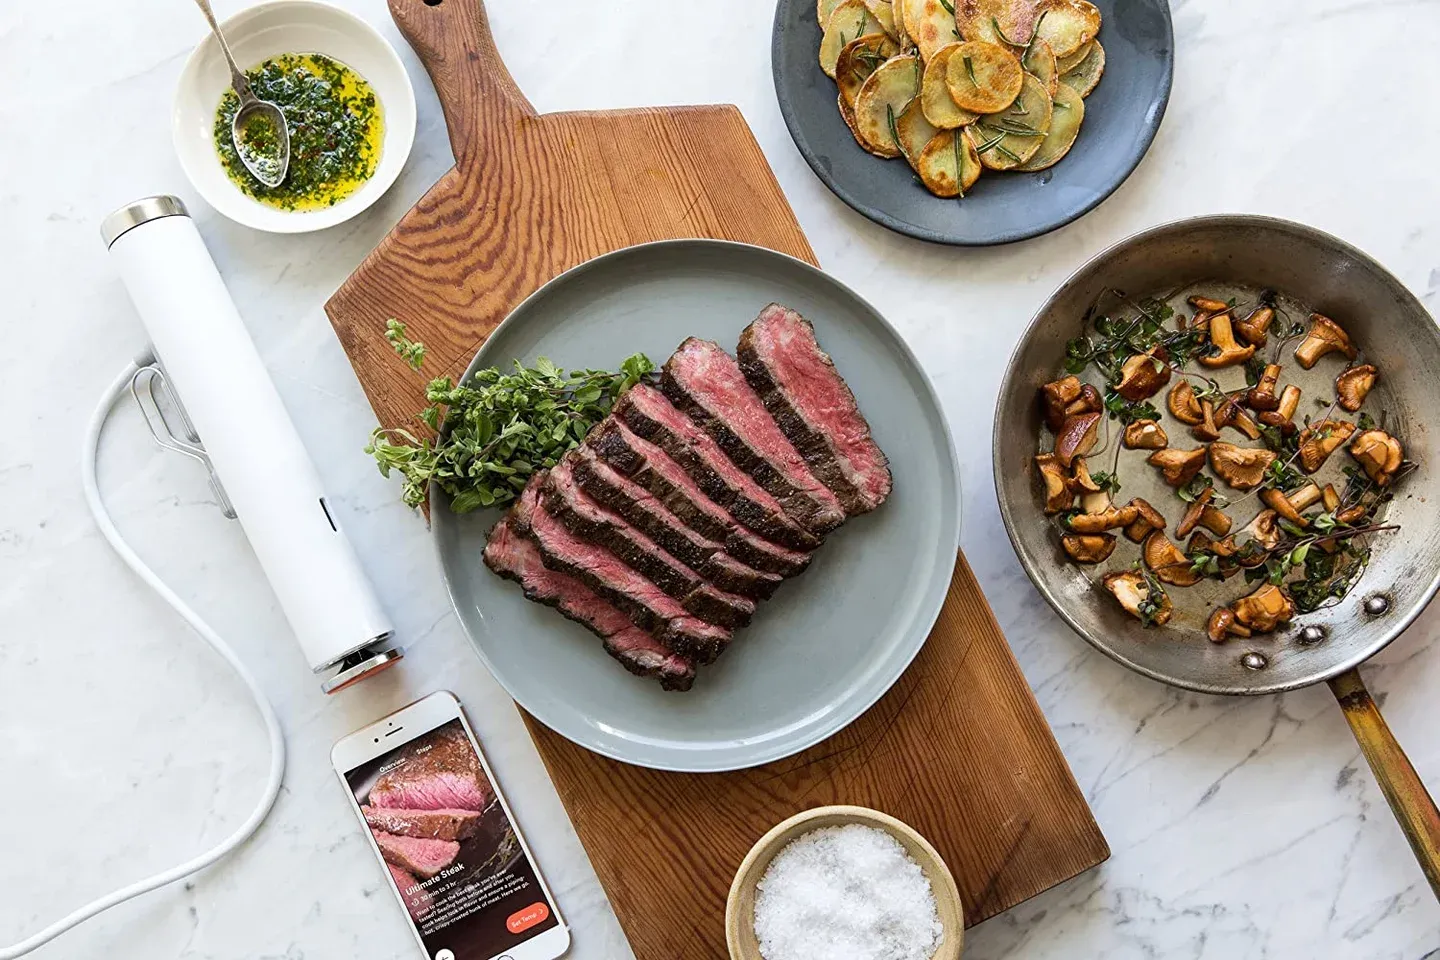
It’s a method that can be used in a variety of situations, making the equipment purchase for your standard kitchen worthwhile. Biolomix Sous Vide Thermal Immersion Circulator helps you cook a flawless poached egg, a perfectly flaked piece of salmon, or do justice to a choice cut of prime rib, with its high power heating element power of 1500 watts compared to other immersion circulators out there that only use 800 or 1000 watts, which definitely lengthens the time required for cooking and preheating.
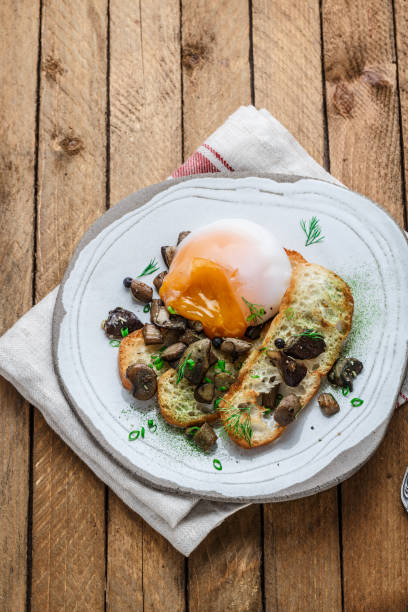
Prepare everything to perfection with the sous vide technique, including meat, poultry, seafood (yes, even lobster!), vegetables, fruits, and eggs. Additionally, you can use it to temper chocolate for chocolates, dessert toppings, and fruit dips like strawberries.
You can now enjoy excellent home cooking with Biolomix Sous Vide Immersion Circulator without effort. You may have complete control over the cooking process with adjustable timers and thermostats. Cooking requires less thought process thanks to the built-in thermostat, digital soft-touch controls, and easy-to-read LCD display.

DESCRIPTION –
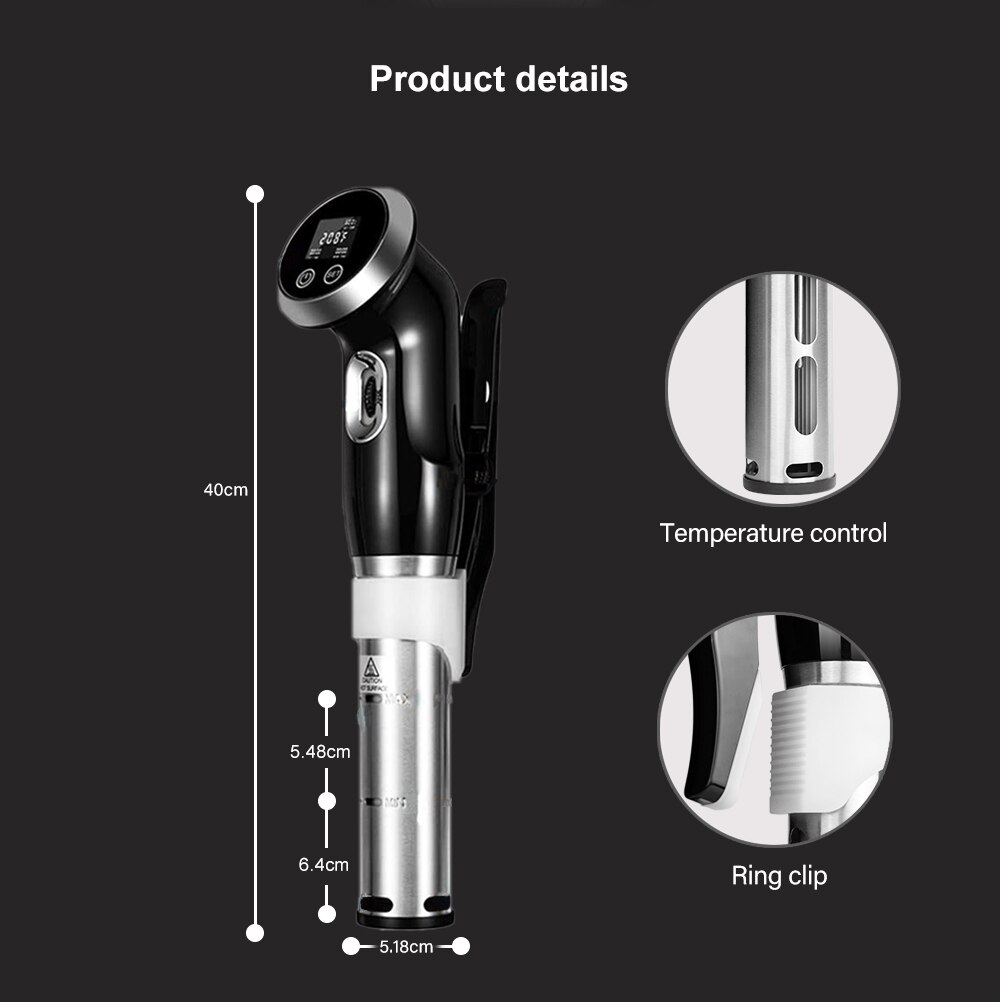
- FASTER COOKING TIME: In just 30 minutes, the Biolomix sous vide immersion circulator can reach 60°C. The sous vide cooker reaches 95°C in only 15 minutes, or about half the time. You may customize your experience by adjusting the time and temperature with the simple control panel.
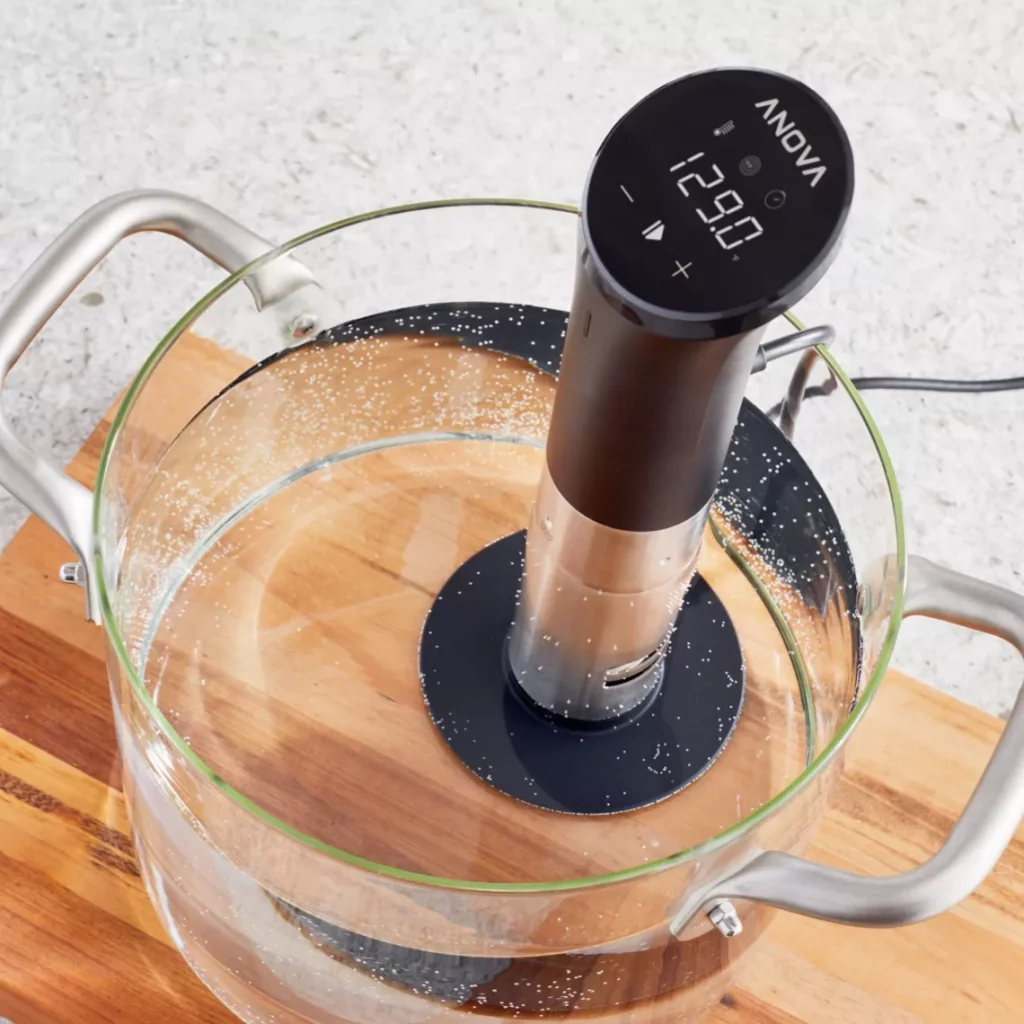
- EASY TO USE: Simply add water, place ingredients in a vacuum-sealed container, and push start with the sous vide cooker set attached to any cooking pot or container. suitable for all deep cooking pans.
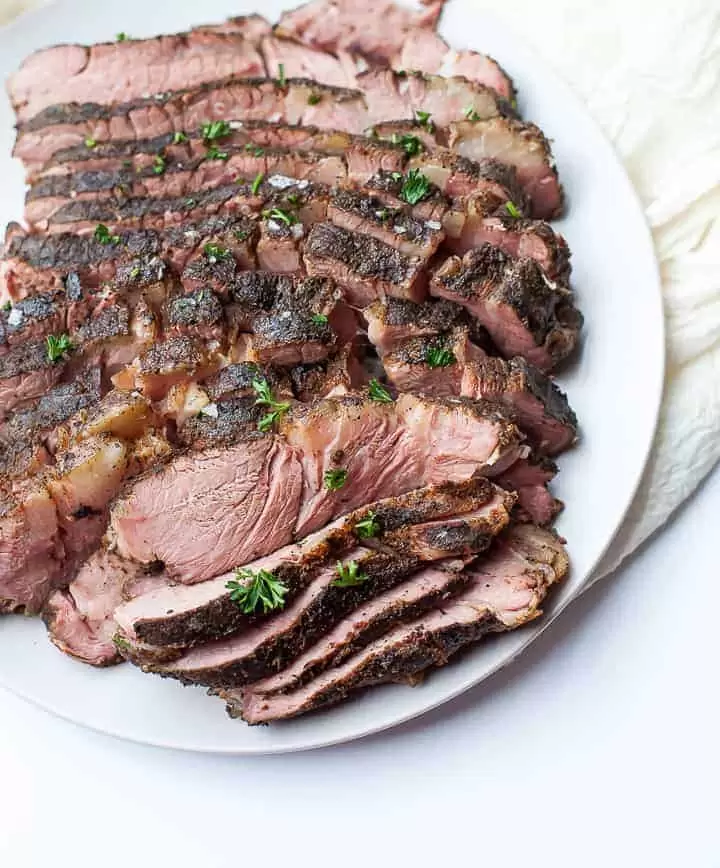
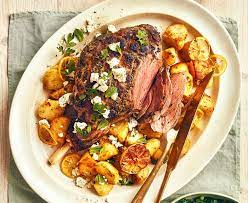
- TASTY MEAT LIKE NEVER BEFORE: With the different recipes available, the Biolomix sous vide immersion cooker will offer your meat and chicken the greatest flavor. Every time, steaks cooked to your preferred temperature are delivered by rear meat with juicy flavor.
- GREAT ADDITION TO ANY RECIPE: The secret to mastering a recipe is the sous vide equipment. Moisture loss may occur as a result of overcooking. You can prepare steak, poultry, fish, eggs, and vegetables using the Biolomix sous vide immersion circulator.

STEPS TO FOLLOW –
Step 1: Put food in a water bath after vacuum-sealing it in a bag.
Step 2: After three seconds of pressing the ON button, the display will turn on and emit a beeping sound. The temperature will be displayed on the display.
Step 3: Set a timer to postpone the beginning of cooking. To set the real cook time, on this device known as “work time,” push the set button a second time (which only starts counting down once the water has reached the correct temp)
Step 4: Using the black scroll wheel on the front, adjust the temperature and timing.
Step 5: Take the meal out and serve it when it reaches the desired temperature and timing.
You may watch the Biolomix sous vide cooker demo video above to learn more about the usage and functions.
Items Purchased Along With The Biolomix Sous Vide –
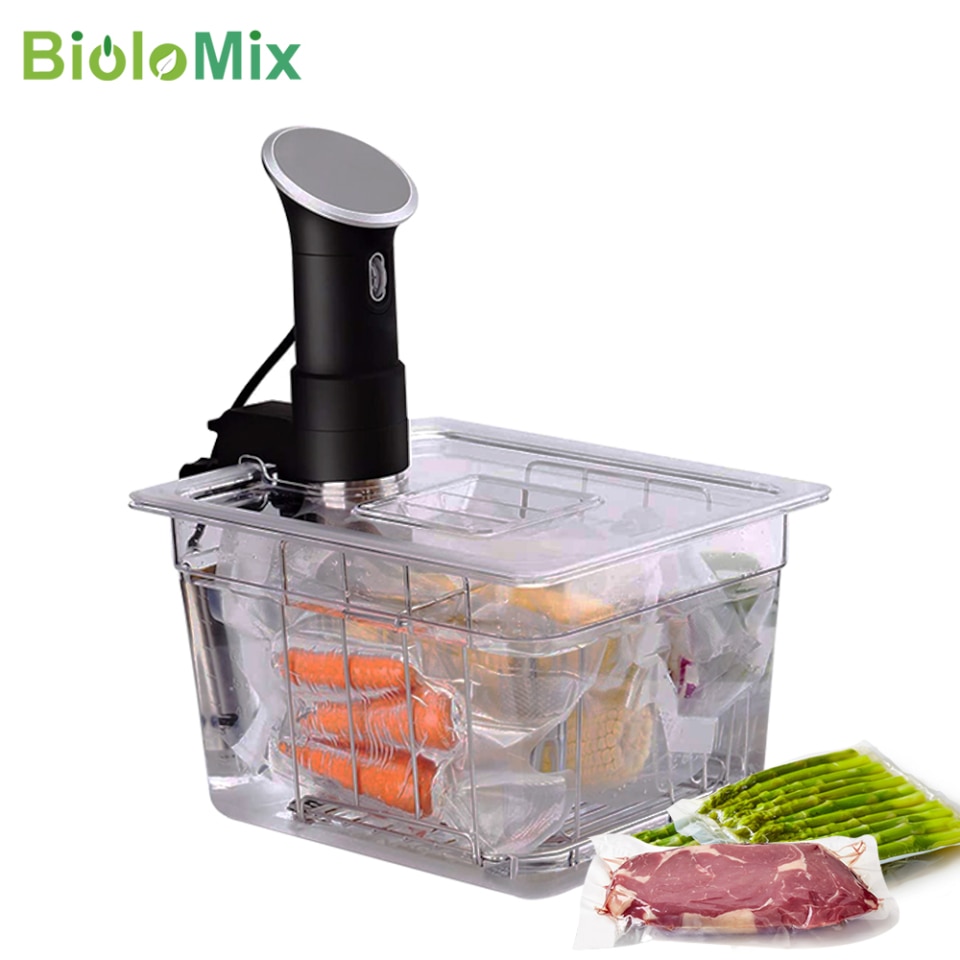
- With an ultra-durable rack made of 304 stainless steel, you can prepare delectable dishes for many years to come without worrying about rust, stains, or corrosion.
- The unique crossbar adjusts to fit both small and big pouches and keeps pouches in position to minimize drifting and half-cooking issues. To cook more food in your 11-liter Biolomix sous vide container with perfect water circulation around every pouch, arrange your pouches over the rack.
With the majority of well-known brands of 11L sous vide containers/buckets, Biolomix sous vide accessories can be used for storage, marinating, compressing, and cooking.
2. Vacuum Food Sealer 220V/110V
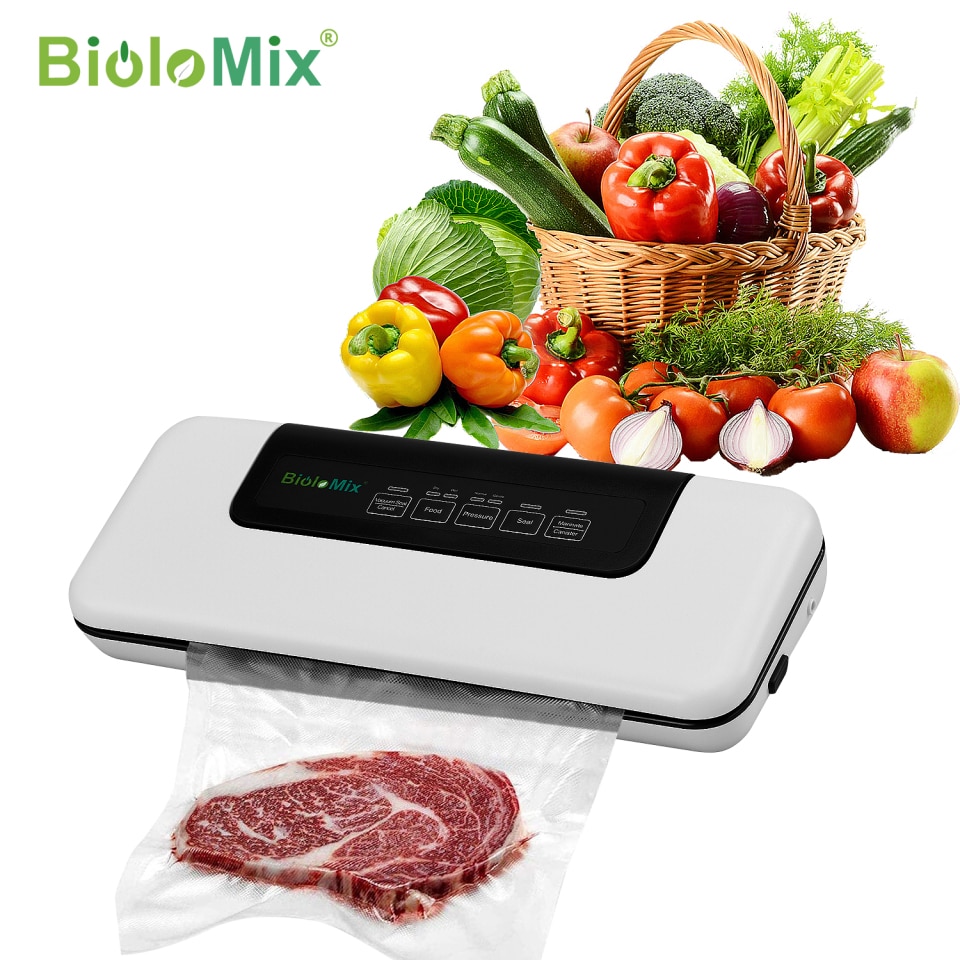
- The ability to stock and organize your freezer with fresh ingredients or food that is ready to thaw and serve will make cooking and meal preparation simpler, more affordable, and faster. This will prevent freezer burn and the creation of ice crystals in food, which will most likely end up in the trash.
- Depending on the type of food, vacuum sealing can extend food preservation up to five times longer than using zip-top baggies or containers. However, the Biolomix Vacuum Sealer has successfully extended the shelf life of food through a series of laboratory testing.
With the control center on top of the panel and digital soft touch buttons as well as LED indicator lights, the plug-in design is fully automatic and simple. Smart technology for your family!
The Advantages of Biolomix Sous Vide Cooking in Professional Kitchens
Choosing to use Biolomix sous vide cooking in your professional kitchen has a lot of advantages and can help the business succeed. Here are a few advantages you’ll experience right away :
- Increases the intensity of flavors.
- Assists in making proteins like beef, poultry, and other types of protein more tender.
- Produces reliable outcomes each time and eliminates the uncertainty of doneness.
- Very useful for batch cooking, It saves money and energy.
- Compared to heated air from an oven, the water bath cooks more evenly.
- Use it for eggs, fruits, vegetables, and proteins since it is adaptable.
Refund Policy
RETURNS
We have a 30-day return period. We are sorry but we are unable to offer you a refund or exchange if 30 days have passed after your purchase. Your item must be new and unopened, and it must also be in the same condition that you received it. Moreover, it needs to be in its original packing.
There are some products that cannot be returned. Food, flowers, newspapers, magazines, and other perishable items are not returnable. Additionally, we do not accept products that are hazardous, contain flammable liquids or gases, or are intimate or hygienic goods.
REFUNDS (If Applicable)
We will send you an email to let you know that we have received your returned item after it has been received and examined. The acceptance or denial of your refund will also be communicated to you by us.
Within a predetermined number of days of receiving your approval, your refund will be processed and a credit will automatically be credited to your credit card or original mode of payment.
Those pricey chunks of meat will always turn out perfectly thanks to Biolomix sous vide cooking! which eliminates the need to watch over the protein. This gives you more time to work on other things. The water never boils or cools because of the immersion circulator’s design; it always stays at the chosen temperature