Author: Juliana

Grilled BBQ Ribs: A Mouthwatering Delight with Irresistible Brown Sugar Rub

Welcome to our blog post on Grilled BBQ Ribs: A Mouthwatering Delight with Irresistible Brown Sugar Rub. Prepare to embark on a tantalizing journey where the smoky aroma and irresistible flavors of perfectly grilled BBQ ribs will leave you craving for more. In this culinary adventure, we will guide you through the process of creating juicy and tender ribs that are enhanced with the magical touch of a delectable brown sugar rub.

Grilled BBQ ribs are a timeless favorite, capturing the essence of backyard barbecues and gatherings with friends and family. The combination of smoky flavors, tender meat, and a perfectly balanced sweet and savory profile makes these ribs an absolute delight for the senses.

Throughout this blog post, we will share with you our expert tips and techniques to achieve grilling perfection. From selecting the right cuts of ribs to mastering the grill temperature and timing, we’ll guide you every step of the way to ensure your BBQ ribs are a culinary triumph.

So, fire up your grills, gather your ingredients, and let’s dive into the art of creating Grilled BBQ Ribs with an Irresistible Brown Sugar Rub.
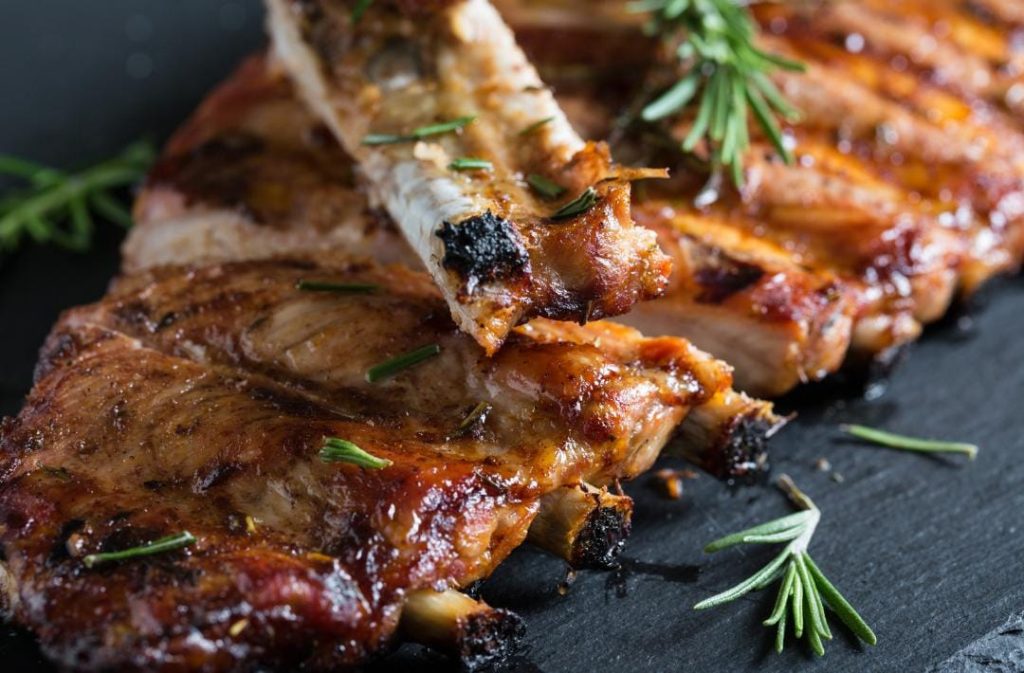
grilled BBQ ribs
Indulge in the Lip-Smacking Goodness of Grilled BBQ Ribs!

Ingredients:

  • 2 racks of pork ribs
  • 1/2 cup brown sugar
  • 2 tablespoons paprika
  • 1 tablespoon garlic powder
  • 1 tablespoon onion powder
  • 1 tablespoon chili powder
  • 1 teaspoon cayenne pepper (adjust according to your spice preference)
  • 1 tablespoon salt
  • 1 tablespoon black pepper
  • 1/4 cup olive oil
  • BBQ sauce of your choice (for basting and serving)

Equipment:

  • Charcoal or gas grill
  • Grill tongs
  • Aluminum foil
  • Basting brush

Instructions:

  1. Prepare the Ribs:
    • Remove the thin membrane from the back of the ribs to allow for better flavor penetration. Use a sharp knife to loosen the membrane at one end, then grip it with a paper towel and peel it off.
    • Rinse the ribs under cold water and pat them dry with paper towels.
  2. Prepare the Brown Sugar Rub:
    • In a bowl, combine the brown sugar, paprika, garlic powder, onion powder, chili powder, cayenne pepper, salt, and black pepper. Mix well to ensure even distribution of the spices.
  3. Apply the Brown Sugar Rub:
    • Drizzle the olive oil over both sides of the ribs and rub it in to create a base for the spice rub.
    • Generously sprinkle the brown sugar rub onto both sides of the ribs, pressing it gently to adhere. Ensure the ribs are evenly coated with the rub, covering every inch for maximum flavor.
  4. Preheat the Grill:
    • Preheat your grill to medium heat (around 275-300°F or 135-150°C). If using a charcoal grill, arrange the charcoal to one side for indirect grilling.
  5. Grill the Ribs:
    • Place the ribs bone-side down on the grill, away from direct heat. Close the lid and let them cook for approximately 2 to 2.5 hours.
    • Every 30 minutes, rotate the ribs and baste them with your favorite BBQ sauce using a basting brush. This adds extra flavor and helps keep the ribs moist.
    • Monitor the grill temperature to ensure it stays consistent throughout the cooking process.
  6. Check for Doneness:
    • To check if the ribs are done, use a meat thermometer to measure the internal temperature. It should read around 190-203°F (88-95°C). The meat should be tender and easily pull apart from the bone.
  7. Rest and Serve:
    • Once done, remove the ribs from the grill and loosely tent them with aluminum foil. Let them rest for about 10-15 minutes to allow the juices to redistribute.
    • Slice the Grilled BBQ ribs between the bones and serve them hot with additional BBQ sauce on the side.

Tips and Tricks:
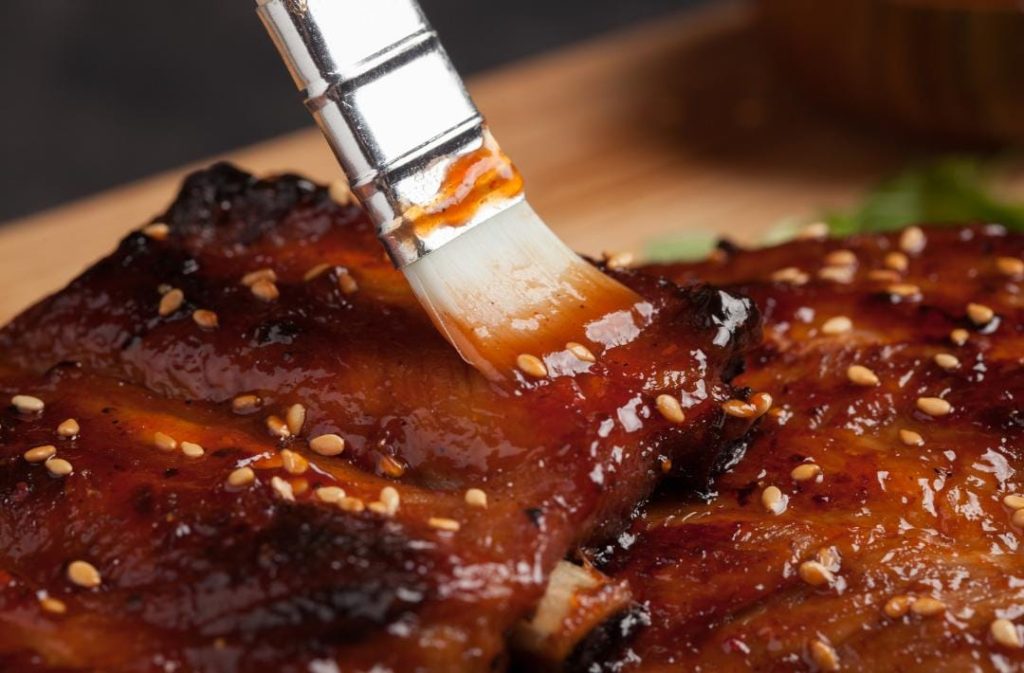
brushing oil on barbeque
  • For more smoke flavor, add wood chips or chunks to your grill before cooking the ribs.
  • To achieve a more caramelized crust, you can sear the ribs directly over high heat for a few minutes after they have finished cooking.
  • Adjust the level of spiciness in the brown sugar rub by increasing or decreasing the amount of cayenne pepper.
  • Experiment with different types of wood chips, such as hickory, apple, or mesquite, to impart unique flavors to your ribs.

Serving Ideas for Grilled BBQ Ribs :
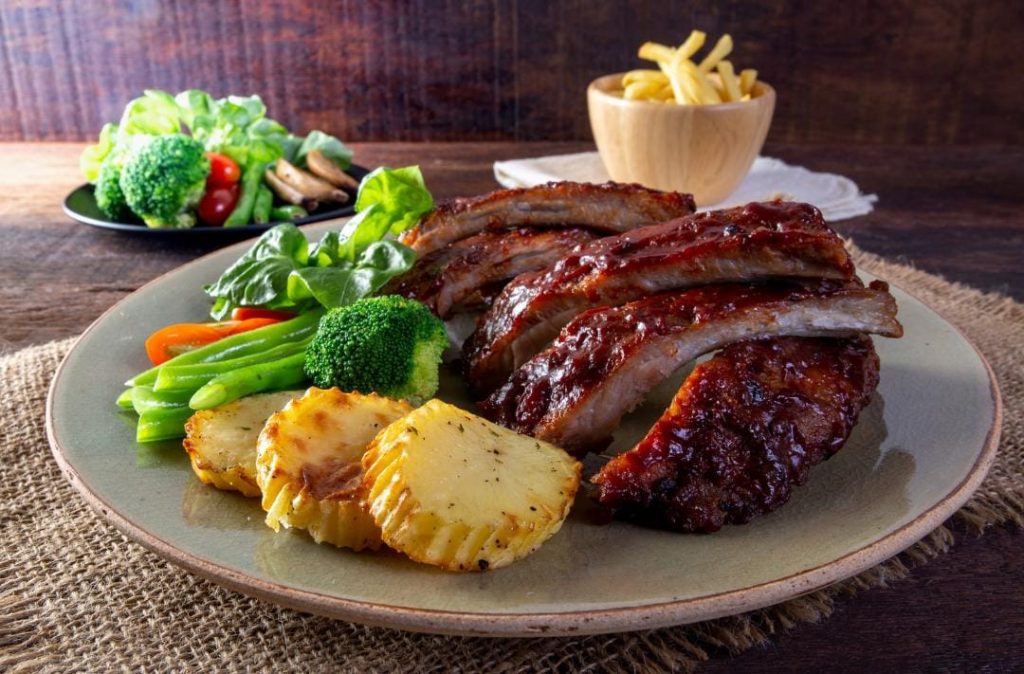
Serving Ideas for Grilled BBQ Ribs  :
  • Serve the Grilled BBQ Ribs with classic sides like coleslaw, cornbread, or potato salad.
  • Create a BBQ platter by adding grilled vegetables, baked beans, and a fresh garden salad.
  • Pair the ribs with refreshing beverages like iced tea, lemonade, or your favorite craft beer.

Now, gather your friends and family, fire up the grill, and savor the mouthwatering delight of Grilled BBQ Ribs with an irresistible Brown Sugar Rub. Get ready for a flavor-packed experience that will leave everyone craving more!
BBQ Bacon Dog: A Savory Delight That’ll Ignite Your Taste Buds!

Welcome to our delectable blog post, where we’re about to embark on a tantalizing journey of flavors with the BBQ Bacon Dog—a mouthwatering creation that will take your taste buds on a thrilling adventure! Brace yourself for an explosion of savory bliss as we delve into the art of crafting this irresistible treat, combining the smokiness of grilled hot dogs, the crispy allure of bacon, and the tangy allure of barbecue sauce.
In this blog post, we will guide you through every step of the process, revealing the secrets to crafting the perfect BBQ Bacon Dog. From selecting the finest quality hot dogs and bacon to achieving the ideal level of smokiness on the grill, we leave no stone unturned in our quest for culinary excellence. We’ll even share tips on toasting the buns to perfection and creating your own signature barbecue sauce.

So, get ready to embark on a savory adventure for preparing BBQ Bacon Dog that will leave you craving the unmatched satisfaction of the BBQ Bacon Dog. Indulge in a delight that is sure to become a favorite among your family and friends. Are you ready to experience the harmonious symphony of flavors that awaits? Let’s dive in!

BBQ Bacon Dog

Ingredients:

  • Hot dogs (choose your favorite brand)
  • Bacon strips (one strip per hot dog)
  • Hot dog buns
  • Barbecue sauce (store-bought or homemade)
  • Optional toppings: diced onions, shredded cheese, relish, etc.

Equipment:

  • Grill (gas, charcoal, or electric)
  • Tongs
  • Skillet or frying pan
  • Oven or toaster oven
  • Mixing bowl
  • Whisk or spoon for sauce preparation

Instructions for Preparing BBQ Bacon Dog:

  1. Preheat your grill to medium heat.
  2. Prepare the bacon by either frying it in a skillet over medium heat until crispy or baking it in the oven at 400°F (200°C) for about 15-20 minutes.
  3. While the bacon is cooking, make sure the hot dog buns are fresh. If they’re not already pre-sliced, use a knife to slice them open lengthwise, but leave one side intact to create a hinge.
  4. Preheat your oven or toaster oven to around 350°F (175°C).
  5. Once the bacon is cooked and crispy, remove it from the pan or oven and set it aside.
  6. Place the hot dogs on the preheated grill and cook them for about 5-7 minutes, turning occasionally until they are heated through and have nice grill marks.
  7. While the hot dogs are grilling, take the sliced buns and place them in the preheated oven or toaster oven for a few minutes, until they become lightly toasted. Be careful not to over-toast them; you want them to be slightly crisp on the outside while remaining soft on the inside.
  8. Remove the buns from the oven and set them aside.
  9. Once the hot dogs are done, wrap each one with a strip of the crispy bacon.
  10. Place the bacon-wrapped hot dogs into the toasted buns, gently pressing down to secure them.
  11. Prepare your barbecue sauce. If using store-bought, simply pour it into a small bowl. If making your own, mix together your favorite barbecue sauce with additional ingredients like brown sugar, Worcestershire sauce, garlic powder, and a touch of hot sauce. Adjust the flavors to your liking.
  12. Drizzle the barbecue sauce over the bacon-wrapped hot dogs, and add any desired toppings, such as diced onions, shredded cheese, or relish.
  13. Serve your BBQ Bacon Dogs immediately while they’re still hot and enjoy the explosion of flavors!

Tips for Toasting Buns to Perfection:

Tips for Toasting Buns to Perfection
  • Adjust your oven or toaster oven temperature and timing based on their individual settings. Keep a close eye on the buns to prevent burning.
  • If you prefer a softer bun, skip the toasting step and serve them as is.
  • For extra flavor, you can lightly butter the buns before toasting them.
  • Don’t assemble the hot dogs in the buns until the buns are toasted to maintain their crispness.

Creating Your Signature Barbecue Sauce:

Creating Your Signature Barbecue Sauce:
  • Experiment with different combinations of spices, such as paprika, cayenne pepper, or mustard powder, to add an extra kick to your sauce.
  • Adjust the sweetness by adding more brown sugar or a splash of honey.
  • For a tangier flavor, consider adding a squeeze of fresh lemon juice or a dash of apple cider vinegar.
  • Allow the sauce to sit for a while to allow the flavors to meld together before using it on your BBQ Bacon Dogs.

Now, gather your ingredients, fire up the grill, and prepare to indulge in the incredible BBQ Bacon Dog—a savory delight that will leave you craving more. Get creative with your toppings and sauce, and enjoy this explosion of flavors that’ll surely ignite your taste buds. Happy grilling!

BBQ Pulled Pork Sandwiches: The Irresistible Guide to Smoky Goodness

Welcome to our blog, where we delve into the mouthwatering world of BBQ pulled pork sandwiches. If you’re a fan of tender, juicy pork infused with smoky flavors, you’ve come to the right place. In this irresistible guide, we will take you on a culinary journey, exploring the secrets to creating the ultimate BBQ pulled pork sandwiches that will have you coming back for more.

Whether you’re hosting a backyard barbecue, tailgate party, or simply craving a satisfying meal, our guide will equip you with the knowledge and skills to create BBQ pulled pork sandwiches that will leave your guests in awe. Get ready to elevate your grilling game and become the master of smoky goodness.

So, grab your apron, fire up the grill, and get ready to embark on this irresistible journey with us. Let’s dive into the world of BBQ pulled pork sandwiches and discover the unparalleled joy of smoky flavors that will have you coming back for seconds, thirds, and beyond.

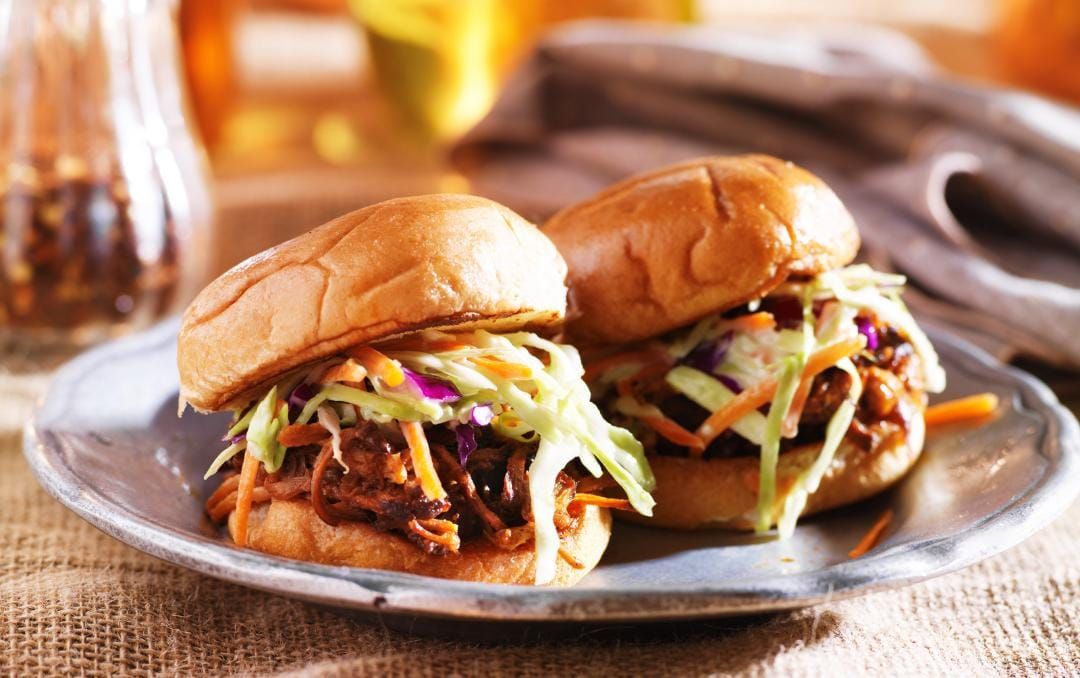
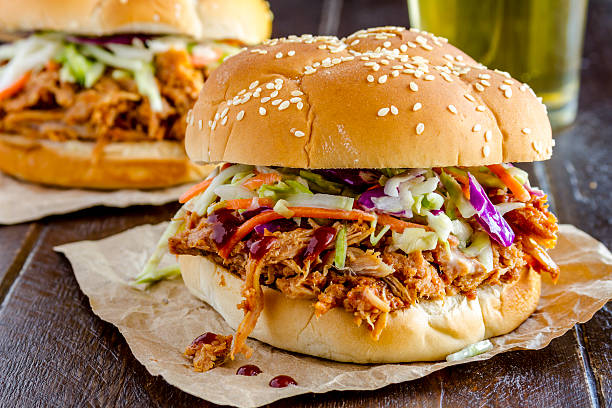
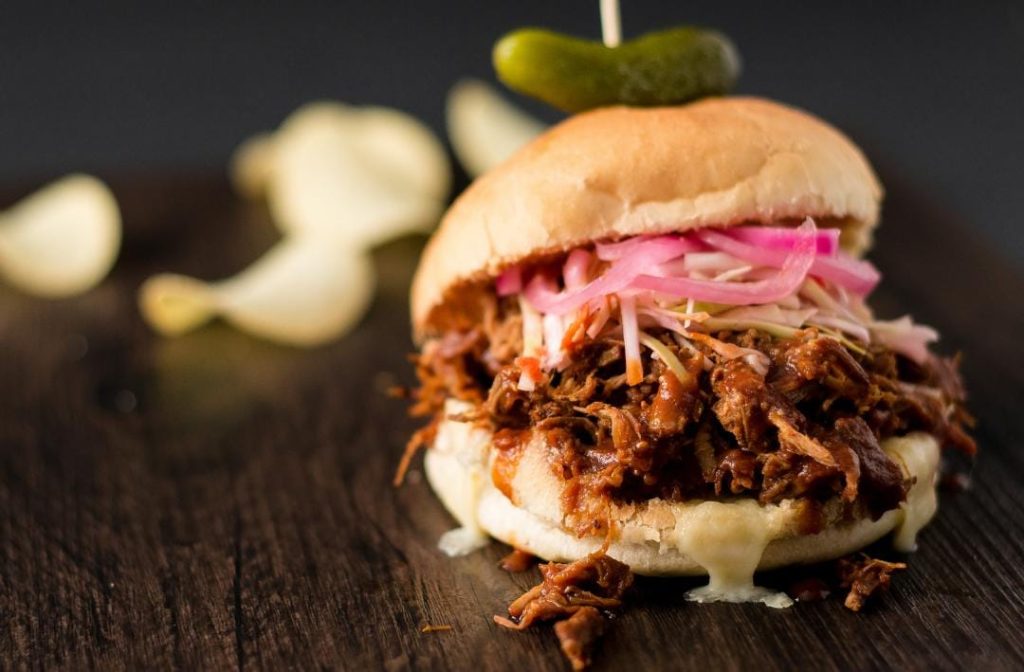
BBQ pulled pork sandwiches
Sink your teeth into these delectable BBQ pulled pork sandwiches! ?

Ingredients:

  • 4-5 pounds (1.8-2.3 kg) boneless pork shoulder or pork butt
  • 1 tablespoon paprika
  • 1 tablespoon brown sugar
  • 1 tablespoon chili powder
  • 1 teaspoon garlic powder
  • 1 teaspoon onion powder
  • 1 teaspoon salt
  • 1/2 teaspoon black pepper
  • 1/2 cup (120 ml) apple cider vinegar
  • 1/2 cup (120 ml) chicken broth
  • 1 cup (240 ml) barbecue sauce (plus extra for serving)
  • 8-10 hamburger buns

Equipment:

  • Grill or smoker
  • Charcoal or wood chips
  • Meat thermometer
  • Basting brush
  • Forks or meat claws
  • Heatproof gloves

Instructions:

  1. Preparing the Pork:
    • In a small bowl, combine paprika, brown sugar, chili powder, garlic powder, onion powder, salt, and black pepper to create a rub.
    • Rub the pork shoulder or pork butt generously with the seasoning mix, ensuring it’s evenly coated.
    • Cover the pork and let it marinate in the refrigerator for at least 4 hours, or overnight for maximum flavor absorption.
  2. Grilling or Smoking the Pork:
    • Preheat your grill or smoker to 225°F (107°C) for low and slow cooking.
    • If using a charcoal grill, add charcoal and a few soaked wood chips to create smoke. Maintain a consistent temperature throughout the cooking process.
    • Place the seasoned pork on the grill grates, away from direct heat. Close the lid and let it cook undisturbed for several hours, or until the internal temperature reaches 195-205°F (90-96°C).
    • Use a meat thermometer to monitor the temperature, inserting it into the thickest part of the pork.
    • Once the pork reaches the desired temperature, remove it from the grill and let it rest for 20-30 minutes.
  3. Shredding the Pork:
    • Put on heatproof gloves to handle the hot pork.
    • Use forks or meat claws to shred the pork, pulling it apart into bite-sized pieces. Discard any excess fat or undesirable parts.
    • As you shred the pork, place it into a large bowl.
  4. Adding Flavor and Moisture:
    • In a small saucepan, combine apple cider vinegar, chicken broth, and barbecue sauce. Warm the mixture over medium heat.
    • Pour the warm sauce over the shredded pork, gradually adding it while tossing and mixing until the pork is coated to your desired sauciness.
    • Adjust the seasoning and sweetness by adding more barbecue sauce or vinegar, if desired.

Tips and Tricks for BBQ Pulled Pork Sandwiches:

Tips and Tricks for BBQ Pulled Pork Sandwiches:
  • For extra flavor, consider using a blend of wood chips like hickory, applewood, or cherrywood to infuse a smoky taste into the pork.
  • Keep the temperature low and the cooking time long to ensure the pork becomes tender and easy to pull apart.
  • Double wrap the pork in aluminum foil during the last hour of cooking to help retain moisture.
  • If you’re short on time, you can also cook the pork in a slow cooker on low heat for 8-10 hours until it’s tender enough to be easily shredded.

In conclusion, BBQ pulled pork sandwiches are an irresistible delight that brings together the smoky flavors of slow-cooked pork, tantalizing spices, and a touch of tangy barbecue sauce. This guide has taken you on a culinary journey, revealing the secrets to achieving tender and flavorful pulled pork with the help of Electric Contact Grill from Biolomix, that will make your sandwiches the talk of the town.

Mouthwatering Grilled Vegetable Panini: The Perfect Healthy Sandwich Option

Welcome to our recipe blog, where we strive to tantalize your taste buds and inspire you to create delicious and nutritious meals. In today’s post, we are delighted to share with you a recipe that perfectly embodies the combination of flavor and health: the mouthwatering grilled vegetable panini. This delectable sandwich is not only a feast for the senses but also a fantastic option for those seeking a wholesome and satisfying meal.

Not only does this mouthwatering grilled vegetable panini please your palate, but it also nourishes your body with an abundance of vitamins, minerals, and fiber. It’s a fantastic way to incorporate a variety of vegetables into your diet, promoting overall health and well-being. Whether you’re a vegetarian, vegan, or simply looking to add more plant-based meals to your repertoire, this sandwich is a nutritious and satisfying choice.

So, join us on this culinary adventure as we guide you through the steps to create the perfect healthy grilled vegetable panini. From selecting the freshest ingredients to mastering the art of grilling, we will provide you with tips and tricks to ensure your panini turns out absolutely scrumptious.

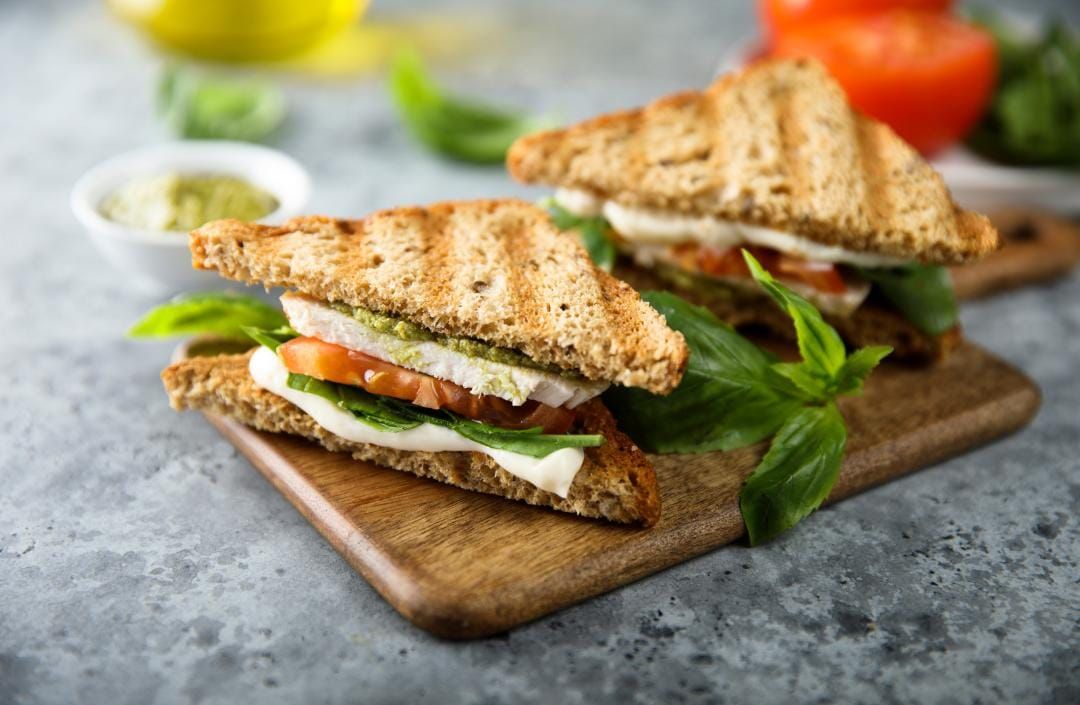
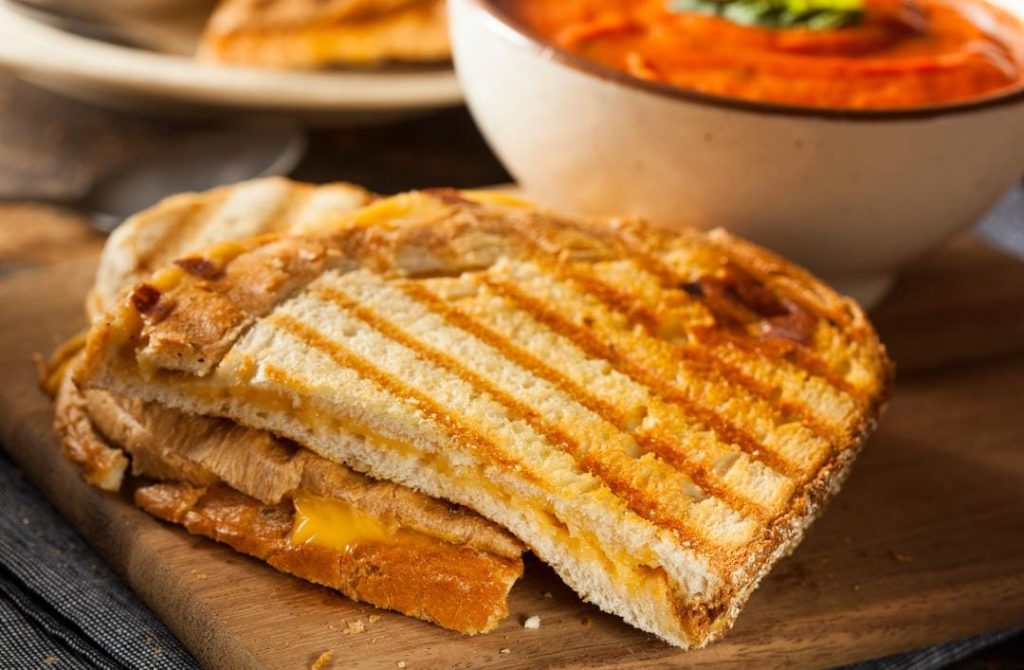
grilled vegetable panini
A Wholesome Bite: Grilled Vegetable Panini. ?

Ingredients:

  • 1 small zucchini, sliced lengthwise
  • 1 red bell pepper, seeded and sliced
  • 1 yellow bell pepper, seeded and sliced
  • 1 small eggplant, sliced into rounds
  • 1 red onion, sliced into rings
  • 4 slices of your favorite bread (such as ciabatta or sourdough)
  • Olive oil for brushing
  • Salt and pepper to taste
  • Optional: fresh basil leaves for garnish

Equipment:

  • Grill pan or outdoor grill
  • Panini press or sandwich press

Instructions:

  1. Preheat your grill pan or outdoor grill to medium-high heat.
  2. Drizzle the sliced zucchini, bell peppers, eggplant, and red onion with olive oil, and season with salt and pepper.
  3. Place the vegetables on the grill and cook for about 3-4 minutes per side, or until they have grill marks and are tender.
  4. Remove the grilled vegetables from the heat and set aside.
  5. Preheat your panini press or sandwich press.
  6. Take two slices of bread and brush one side of each slice with olive oil.
  7. On the non-oiled side of one slice, layer the grilled vegetables, arranging them evenly.
  8. Top with the second slice of bread, oiled side facing up.
  9. Place the assembled sandwich onto the preheated panini press and close the lid gently.
  10. Cook for about 3-4 minutes, or until the bread is toasted and the cheese (if added) has melted.
  11. Carefully remove the panini from the press and transfer it to a cutting board.
  12. Let it cool slightly before slicing it in half.
  13. Optional: Garnish with fresh basil leaves for added freshness.

Tips and Tricks:

Tips and Tricks Grilled Vegetable Panini
  • Experiment with different vegetables like mushrooms, asparagus, or cherry tomatoes to add variety to your panini.
  • Add a spread like pesto, hummus, or sun-dried tomato paste to enhance the flavors.
  • Feel free to customize your panini by adding a slice of cheese (such as mozzarella or goat cheese) or a handful of arugula for added texture.
  • If you don’t have a panini press, you can use a stovetop skillet and place a heavy pan on top to press the sandwich.

Customization Ideas for Grilled Vegetable Panini:

Grilled Vegetable Panini
  • For a Mediterranean twist, add sliced black olives, feta cheese, and a drizzle of balsamic glaze.
  • Create a vegan version by omitting the cheese and using vegan bread and spreads.
  • Spice it up with a sprinkle of red pepper flakes or a dash of hot sauce for a kick of heat.
  • Serve your Grilled Vegetable Panini with a side salad or a cup of soup for a complete meal.

Indulge in the flavors of this Grilled Vegetable Panini, a satisfying and nutritious option for any mealtime. With its grilled vegetables, crispy bread, and customizable ingredients, this delightful sandwich is sure to become a favorite in your kitchen. Get creative, experiment with flavors, and enjoy the wholesome goodness of this delicious panini. Bon appétit!

20 Easy Homemade Bread Spreads for a Healthier Twist

Welcome to our blog post on 20 easy homemade bread spreads that will add a healthier twist to your meals. In this article, we will explore a variety of delicious and nutritious bread spreads that you can make at home with simple ingredients. Say goodbye to store-bought bread spreads loaded with preservatives and embrace these homemade alternatives that are both flavorful and better for your health.

Equipment Needed :

  1. Food Processor or Blender
  2. Whisk or Electric Mixer
  3. Spatulas
  4. Cutting Board and Knife
  5. Measuring Cups and Spoons
  6. Mixing Bowls
  7. Garlic Press
  8. Air-tight Containers
  9. Toasting Oven or Broiler
  10. Bread Knife

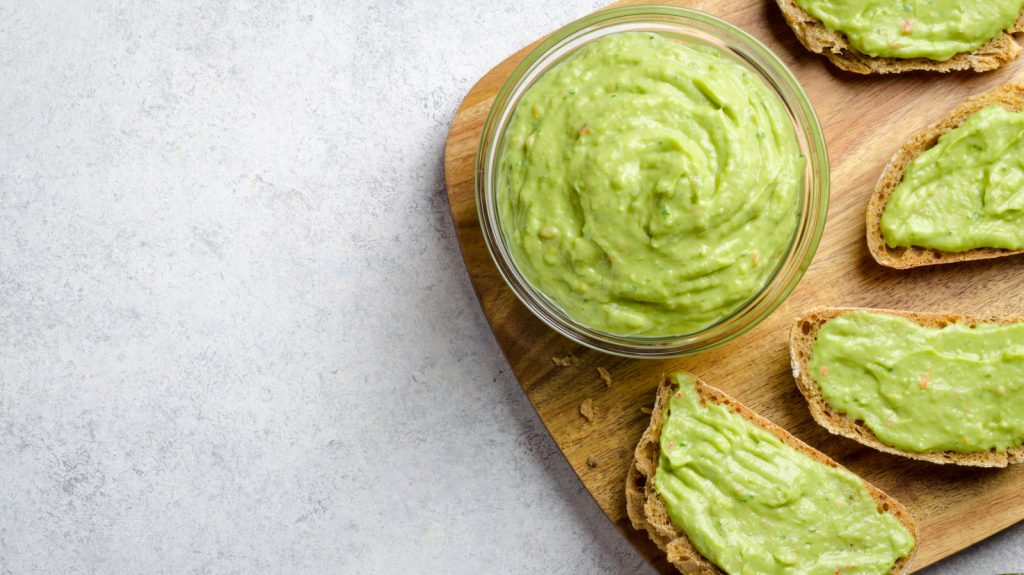
1. Creamy Avocado Bread Spreads

1. Creamy Avocado Bread Spreads

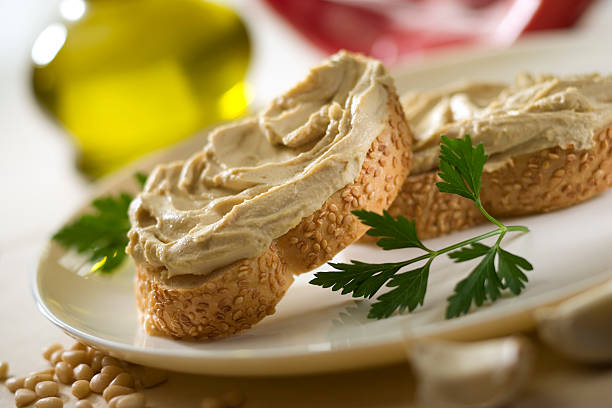
Indulge in the velvety goodness of avocado with one of the creamiest bread spreads. Packed with healthy fats and vitamins, it adds a smooth and satisfying element to your bread.

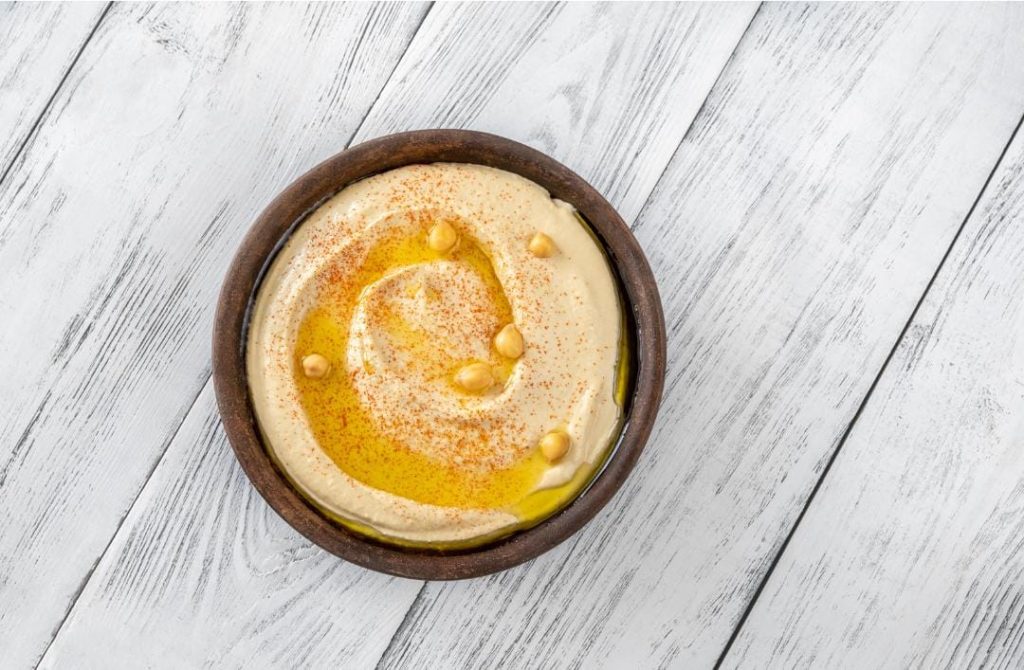
2. Hummus Delight

2. Hummus Delight

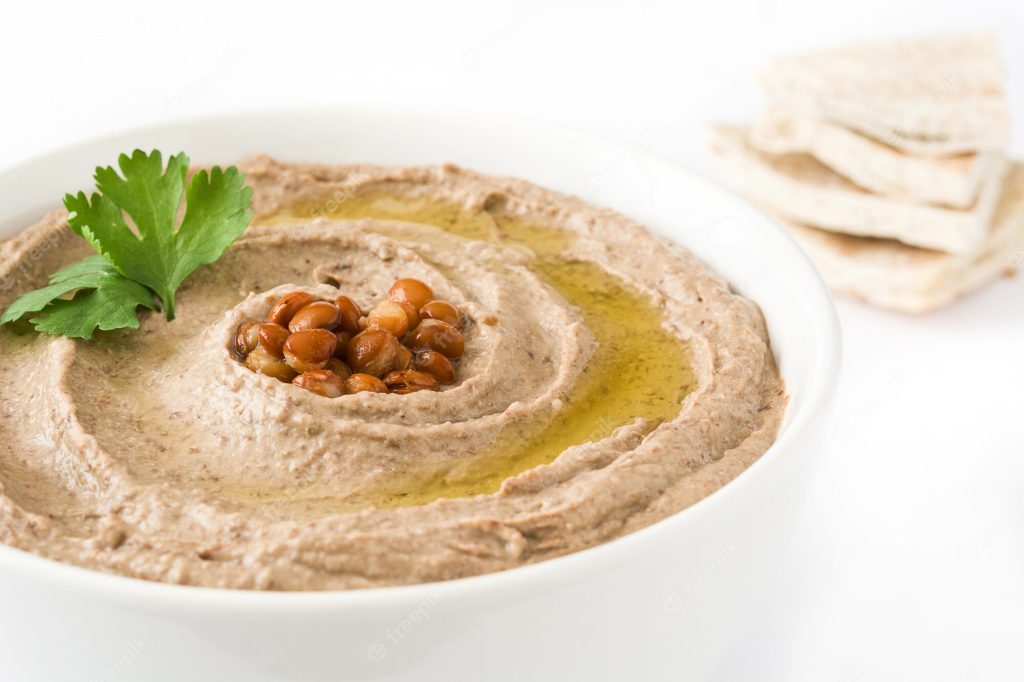
Whip up a batch of homemade hummus using chickpeas, tahini, lemon juice, and garlic. This protein-rich spread is not only delicious but also provides a burst of flavor and nutrition.

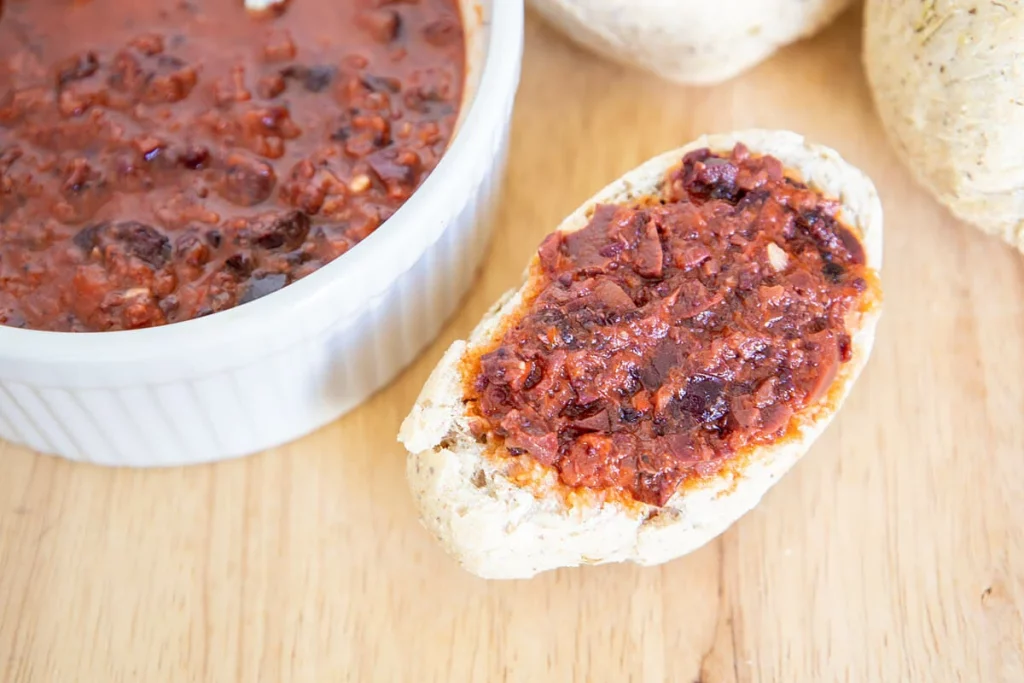
3. Roasted Red Pepper Tapenade

3. Roasted Red Pepper Tapenade

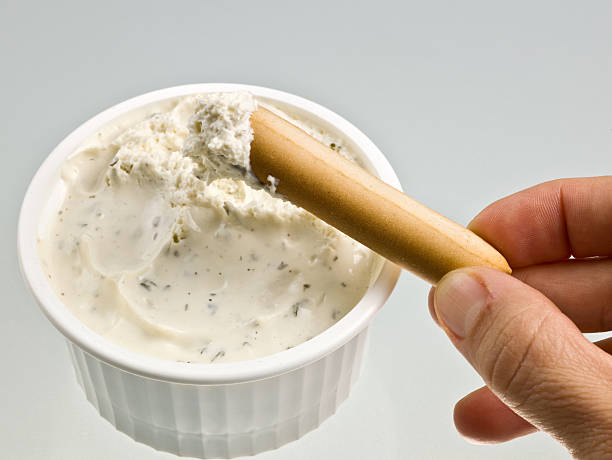
Combine roasted red peppers, olives, capers, and garlic to create tangy and savory bread spreads that pairs perfectly with crusty breads. It’s a burst of Mediterranean flavors in every bite.

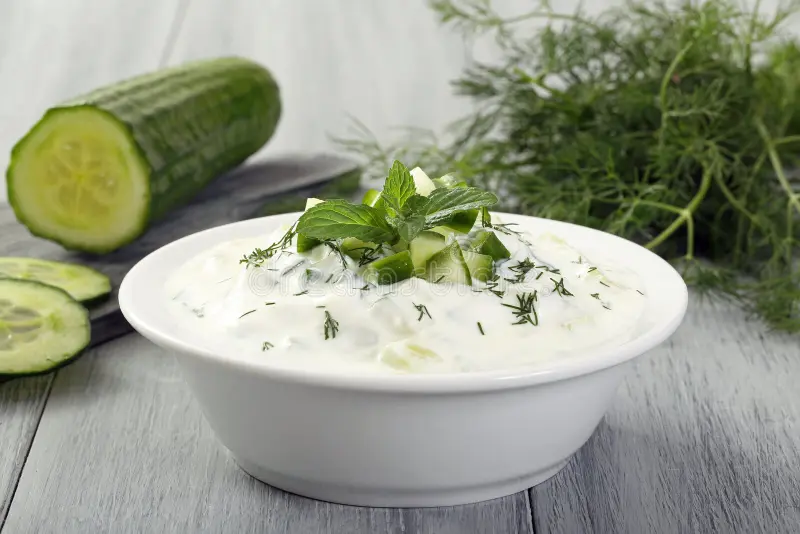
4. Greek Yogurt and Cucumber Spread

4. Greek Yogurt and Cucumber Spread

Mix Greek yogurt, grated cucumber, dill, and a touch of lemon juice to create a refreshing and light spread that is reminiscent of tzatziki sauce. It’s ideal for a summer-inspired twist.

5. Walnut and Honey Spread

5. Walnut and Honey Spread

Blend walnuts and honey to create sweet and nutty bread spreads that add a delightful crunch to your bread. It’s a perfect balance of flavors for those with a sweet tooth.

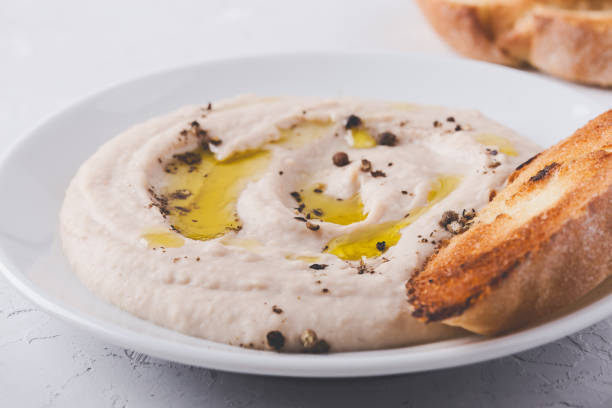
6. Smashed White Bean Spread

6. Smashed White Bean Spread

Mash cooked white beans with garlic, lemon juice, and olive oil to create a protein-packed spread with a creamy texture. Add a sprinkle of herbs for an extra touch of freshness.

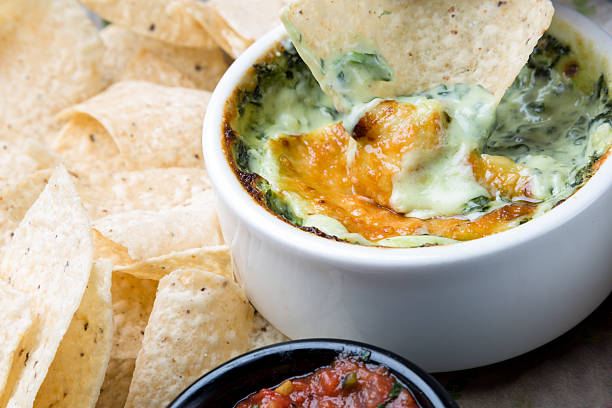
7. Spinach and Artichoke Dip-inspired Spread

7. Spinach and Artichoke Dip-inspired Spread

Combine cooked spinach, chopped artichoke hearts, cream cheese, and Parmesan for bread spreads that mimics the flavors of the classic dip. It’s a crowd-pleaser with a healthier twist.

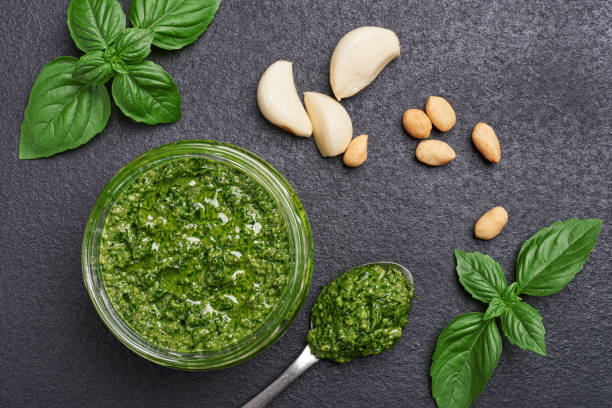
8. Pesto Paradise

8. Pesto Paradise

Blend fresh basil leaves, pine nuts, garlic, Parmesan cheese, and olive oil to create vibrant and fragrant pesto bread spreads. It is perfect for adding a burst of herbaceous goodness to your bread.

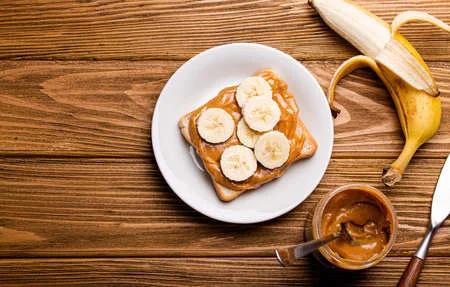
9. Almond Butter and Banana Spread

9. Almond Butter and Banana Spread

Spread creamy almond butter on your bread and top it with slices of ripe banana. It’s a satisfying and nutritious combination that offers a natural sweetness and a dose of healthy fats.

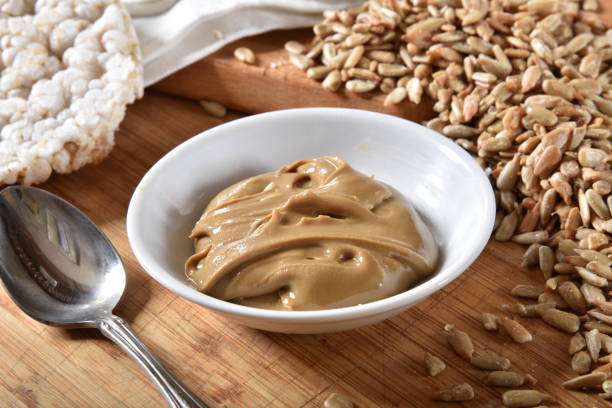
10. Sunflower Seed Spread

10. Sunflower Seed Spread

Grind roasted sunflower seeds with a touch of olive oil until creamy. These allergy-friendly bread spreads are an excellent alternative to nut-based spreads and provides a delightful nutty flavor.

11. Roasted Garlic and Herb Spread

11. Roasted Garlic and Herb Spread

Roast garlic cloves and blend them with herbs like rosemary, thyme, and parsley to create a fragrant and savory spread that adds depth to your bread.

12. Spicy Black Bean Spread

12. Spicy Black Bean Spread

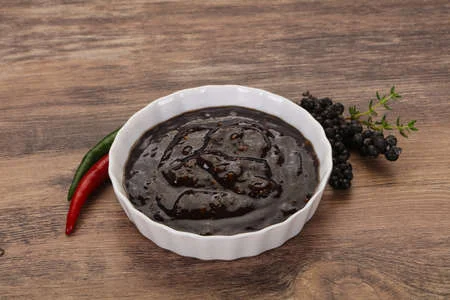
Puree cooked black beans with spices like cumin, chili powder, and lime juice to create a zesty and protein-rich spread. It’s perfect for adding a kick to your sandwiches.

13. Tahini and Maple Syrup Spread

13. Tahini and Maple Syrup Spread

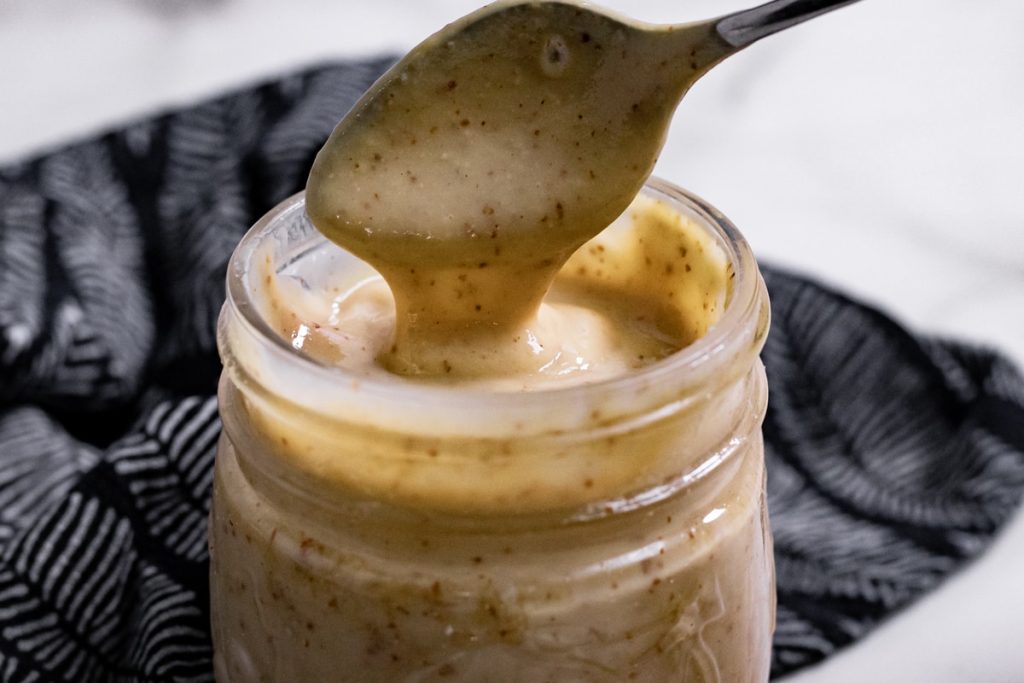
Mix tahini with a drizzle of maple syrup for a slightly sweet and nutty spread. It’s an unexpected combination that adds a unique flavor profile to your bread.

14. Roasted Eggplant Spread

14. Roasted Eggplant Spread

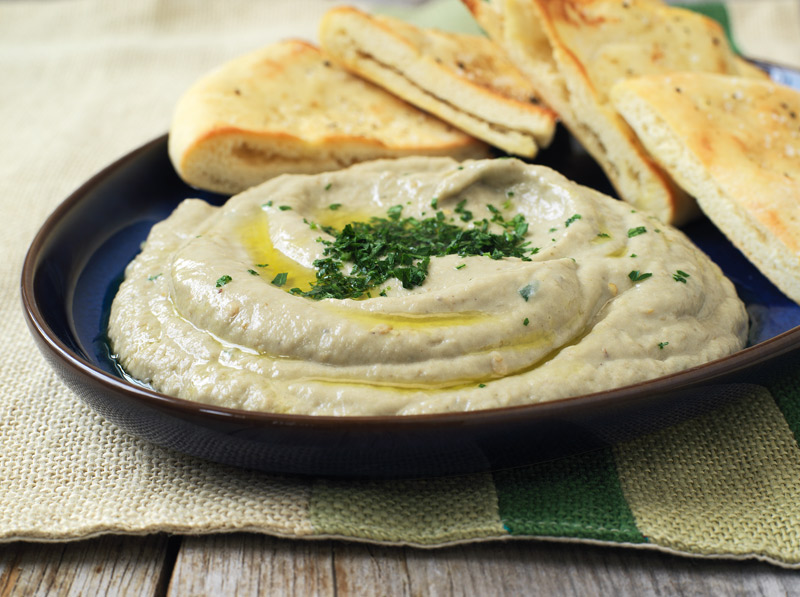
Roast eggplant until tender, then blend it with garlic, lemon juice, and olive oil to create a smoky and flavorful spread that is both delicious and nutritious.

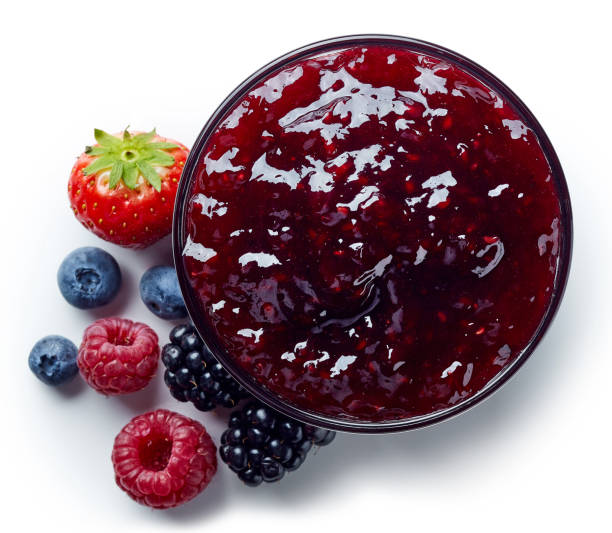
15. Fresh Berry Jam

15. Fresh Berry Jam

Make your own healthy version of jam by cooking fresh berries with a touch of sweetener like honey or maple syrup. It’s a delightful way to add natural fruit flavors to your bread.

16. Lentil and Herb Spread

16. Lentil and Herb Spread

Cook lentils until soft, then blend them with herbs, lemon juice, and olive oil to create a protein-packed spread with a burst of fresh flavors.

17. Zesty Citrus Spread

17. Zesty Citrus Spread

Blend citrus fruits like oranges, lemons, and grapefruits with a hint of honey or agave syrup for a bright and tangy bread spread that wakes up your taste buds.

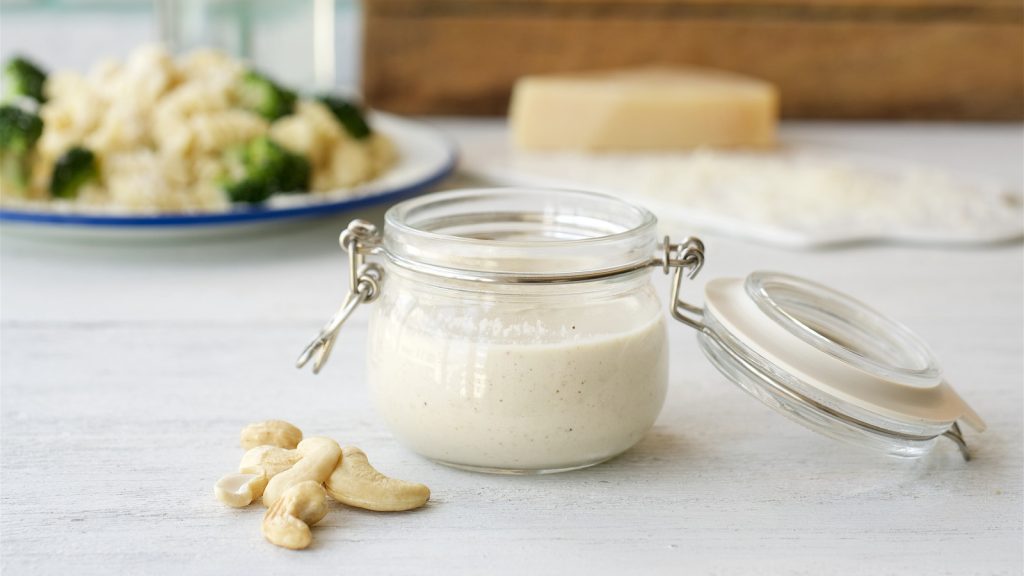
18. Cashew Cream Cheese

18. Cashew Cream Cheese

Soak cashews, then blend them with lemon juice, nutritional yeast, and a pinch of salt to create a creamy and dairy-free alternative to traditional cream cheese.

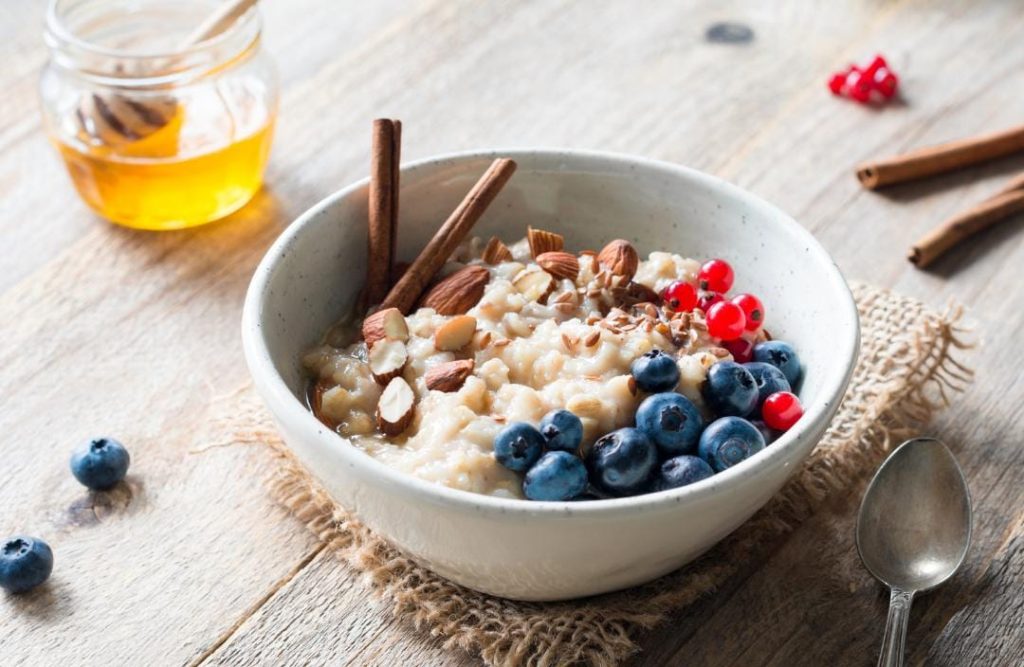
19. Cinnamon and Raisin Spread

19. Cinnamon and Raisin Spread

Mix cinnamon, raisins, and a touch of honey or maple syrup for a sweet and aromatic spread that adds warmth and flavor to your bread.

20. Sesame Ginger Spread

20. Sesame Ginger Spread

Combine toasted sesame seeds, grated ginger, soy sauce, and a splash of rice vinegar for an Asian-inspired spread that offers a balance of umami and tanginess.

There you have it—20 easy homemade bread spreads that will give your meals a healthier twist. Experiment with these recipes and customize them according to your taste preferences. By making your own spreads with the help of a Biolomix Blender or food processor, you have full control over the ingredients, ensuring that they are fresh, nutritious, and free from additives.

So, grab your favorite bread and start spreading the goodness with these homemade delights. Your taste buds and your health will thank you!

Espresso Temptation: Succumb to the Richness of Coffee in this Irresistible Recipe

The heart and soul of this recipe lies in the perfect union of espresso and milk. The essence of freshly brewed espresso, extracted to perfection, intertwines with the creamy texture of frothed milk, resulting in a symphony of flavors that dance across your palate. The deep, bold notes harmonize with the delicate sweetness of the milk, creating a luxurious balance that is simply irresistible.

Welcome to Espresso Temptation, the ultimate destination for coffee enthusiasts seeking to immerse themselves in the irresistible richness of coffee. Prepare to embark on a journey where the captivating aroma and robust flavors of espresso merge with the velvety smoothness of milk, resulting in a concoction that will bewitch your senses and leave you yearning for more.

Within this blog, we will delve into the art and technique of crafting this divine Espresso. We will explore the ingredients and equipment required to bring this masterpiece to life, guiding you step-by-step through the process to ensure flawless execution. Not only will you learn the fundamental techniques of using a semi-automatic espresso machine, but you will also discover customization tips that allow you to tailor the recipe to your personal preferences.

espresso
A shot of pure bliss.

Ingredients:

  • 1 shot of freshly brewed espresso
  • 1 cup of milk (any variety of your choice)
  • 1 tablespoon of sweetener (optional)
  • Chocolate syrup or cocoa powder for garnish (optional)

Equipment:

Instructions:

  1. Start by grinding your coffee beans to a fine consistency suitable for coffee.
  2. Preheat your machine and ensure it is ready for use.
  3. Measure out the desired amount of coffee grounds and evenly distribute them into the portafilter.
  4. Using the tamper, apply gentle pressure to compact the coffee grounds in the portafilter.
  5. Insert the portafilter into the machine and begin the extraction process. Aim for a steady stream of espresso into the shot glass.
  6. While the espresso is brewing, pour the milk into the frothing pitcher.
  7. Position the steam wand of the machine just below the surface of the milk and turn on the steam function. Allow the milk to froth and expand in volume, achieving a creamy texture.
  8. Once the shot is complete, remove the shot glass and pour the freshly frothed milk into it, allowing it to mix with the espresso.
  9. Add sweetener to taste, if desired, and give the drink a gentle stir to combine the flavors.
  10. Optionally, drizzle chocolate syrup or sprinkle cocoa powder on top for a touch of indulgence.

Customization Tips for the Best Espresso:

Customization Tips for the Best Espresso:
Sip, sigh, and let the comforting essence of vanilla envelop you.
  • Experiment with different coffee beans to explore diverse flavor profiles.
  • Adjust the grind size to achieve the desired extraction time and flavor intensity.
  • Explore alternative milk options such as almond, oat, or soy milk for a dairy-free variation.
  • Incorporate flavored syrups like vanilla, caramel, or hazelnut to add a personal twist to your drink.

Serving Ideas:

Serving Ideas:
A delightful combination of chocolate and cookies.
  • Serve your Espresso Temptation in elegant cups or mugs for an authentic café experience.
  • Accompany it with a side of biscotti, cookies, or chocolate for a delightful pairing.
  • Create latte art on the surface of your drink to impress your guests with intricate designs.

As we reach the end of our journey through the world of Espresso Temptation, we hope you are now fully captivated by the richness of coffee and the irresistible allure of this recipe. The artful combination of coffee and milk, expertly crafted using a semi-automatic espresso machine, has allowed us to unlock the true potential of coffee in creating an extraordinary beverage.

The customization tips provided have encouraged you to embrace your creativity and personalize the recipe to your own preferences. Whether it’s experimenting with different coffee beans, adjusting the grind size, or incorporating flavored syrups, you have the power to create your own unique coffee. So, brew, froth, and savor every sip of this heavenly creation. Cheers!

Chocolate-Filled Doughnuts: Tempting Treats for Every Sweet Tooth

Welcome to our blog, where we dive into the delightful world of Chocolate-Filled Doughnuts! If you have a sweet tooth and an unwavering love for chocolate, you’re in for a treat. These delectable creations combine the heavenly taste of chocolate with the comforting and indulgent nature of doughnuts, resulting in an irresistible combination that will leave you craving for more.

Whether you’re a home baker looking to perfect your doughnut-making skills or a chocolate enthusiast seeking the ultimate chocolate-filled experience, this blog is tailored just for you. We’ll share helpful tips, step-by-step recipes, and creative ideas to take your love for chocolate-filled doughnuts to new heights.

Get ready to satisfy your cravings, discover new flavor combinations, and find inspiration to create your own tempting treats. Chocolate-Filled Doughnuts are here to captivate your taste buds and bring a little bit of sweetness into your life.

Indulge yourself in the world of Chocolate-Filled Doughnuts – the perfect temptation for every sweet tooth. Let’s dive in and explore the magic together!

Chocolate-Filled Doughnuts
These chocolate-filled doughnuts are worth every irresistible bite. ?

Ingredients :

  • 2 ¾ cups all-purpose flour
  • ¼ cup granulated sugar
  • 2 ¼ teaspoons instant yeast
  • ½ teaspoon salt
  • ½ cup warm milk
  • 2 tablespoons unsalted butter, melted
  • 2 large eggs
  • Vegetable oil, for frying
  • ½ cup chocolate-hazelnut spread or your favorite chocolate ganache (for filling)
  • Powdered sugar, for dusting

Equipment :

  • Fryer (with temperature control)
  • Mixing bowls
  • Whisk or electric mixer
  • Measuring cups and spoons
  • Rolling pin
  • Biscuit cutter or doughnut cutter
  • Piping bag or plastic sandwich bag (for filling)
  • Slotted spoon or spider strainer
  • Cooling rack

Instructions :

  1. Activate the yeast:
    • In a small bowl, combine warm milk and a pinch of sugar.
    • Sprinkle the instant yeast over the milk and let it sit for about 5 minutes until foamy.
  2. Prepare the dough:
    • In a large mixing bowl, whisk together flour, sugar, and salt.
    • Add the activated yeast mixture, melted butter, and eggs to the dry ingredients.
    • Mix everything until a sticky dough forms.
    • Transfer the dough to a lightly floured surface and knead for about 5 minutes until smooth and elastic.
  3. First rise:
    • Place the dough in a greased bowl, cover it with a clean kitchen towel, and let it rise in a warm place for about 1 hour or until doubled in size.
  4. Shape the doughnuts:
    • Once the dough has risen, gently punch it down and roll it out to a thickness of about ½ inch.
    • Use a biscuit cutter or doughnut cutter to cut out doughnut shapes.
    • Place the doughnuts on a lightly floured baking sheet, cover them, and let them rise for another 30 minutes.
  5. Heat the fryer and fry the doughnuts:
    • Fill the fryer with vegetable oil and preheat it to 350°F (175°C).
    • Carefully place a few doughnuts into the hot oil, frying them for about 2-3 minutes per side until golden brown.
    • Use a slotted spoon or spider strainer to transfer the fried doughnuts onto a paper towel-lined plate to remove excess oil.
  6. Fill the doughnuts:
    • Allow the doughnuts to cool slightly.
    • Fill a piping bag or plastic sandwich bag with the chocolate-hazelnut spread or chocolate ganache.
    • Insert the tip of the bag into each doughnut and pipe a generous amount of chocolate filling inside.

Customization Ideas :

goughnut
  • Drizzle melted white or dark chocolate over the filled doughnuts for an elegant touch.
  • Sprinkle chopped nuts, colorful sprinkles, or shredded coconut on top of the chocolate filling for added texture and visual appeal.
  • Dust the doughnuts with cocoa powder or cinnamon-sugar for an extra flavor boost.

Serving Ideas for Chocolate-Filled Doughnuts :

Serving Ideas for Chocolate-Filled Doughnuts :
  • Serve the Chocolate-Filled Doughnuts warm as a delicious breakfast treat or indulgent dessert.
  • Pair them with a cup of hot coffee or a cold glass of milk for a delightful combination.
  • Share them at brunch gatherings, birthday parties, or special occasions to impress your guests with homemade goodness.

With this recipe, you can bring the joy of freshly fried, chocolate-filled doughnuts to your kitchen. Embrace the customization options to make each batch unique and enjoy these delectable treats. Happy frying and savoring the irresistible goodness!

Classic Chocolate Waffles: A Sweet and Simple Indulgence

Welcome to our recipe blog, where we invite you to explore the delightful world of Classic Chocolate Waffles—a sweet and simple indulgence that is sure to awaken your taste buds and satisfy your cravings. If you’re a chocolate lover seeking a heavenly breakfast or a delectable brunch option, you’ve come to the right place.

Imagine sinking your teeth into a warm, fluffy waffle infused with rich cocoa goodness, where each bite reveals a perfect balance of sweetness and indulgence. The aroma of chocolate wafting through your kitchen will entice your senses, setting the stage for an unforgettable culinary experience. Paired with a dusting of powdered sugar, a drizzle of velvety chocolate sauce, or perhaps a dollop of whipped cream and fresh berries, these Classic Chocolate Waffles are sure to become a family favorite.

So, join us as we embark on this sweet adventure, exploring the world of Classic Chocolate Waffles—one bite at a time. Get ready to awaken your senses, embrace your inner chocolatier, and discover the simple pleasure of this irresistible treat. Let’s dive into the world of Classic Chocolate Waffles: A Sweet and Simple Indulgence!

classic chocolate waffles
Start your day with a chocolatey delight! Classic Chocolate Waffles to brighten your mornings. ????
Ingredients:

  • 1 ½ cups all-purpose flour
  • ½ cup cocoa powder
  • ¼ cup granulated sugar
  • 2 teaspoons baking powder
  • ½ teaspoon salt
  • 1 ¾ cups milk
  • 1/3 cup vegetable oil
  • 2 large eggs
  • 1 teaspoon vanilla extract
  • Cooking spray or melted butter for greasing the waffle maker

Equipment:

Instructions:

  1. Preheat your waffle maker according to the manufacturer’s instructions.
  2. In a large mixing bowl, whisk together the flour, cocoa powder, sugar, baking powder, and salt until well combined.
  3. In another bowl, whisk together the milk, vegetable oil, eggs, and vanilla extract until smooth.
  4. Pour the wet ingredients into the dry ingredients and stir until just combined. Be careful not to overmix; a few lumps are okay.
  5. Lightly grease the preheated waffle maker with cooking spray or melted butter.
  6. Pour the appropriate amount of batter onto the center of the waffle maker, following the manufacturer’s instructions. Close the lid and cook the waffle until golden brown and crispy.
  7. Carefully remove the waffle from the maker and transfer it to a cooling rack to prevent sogginess. Repeat the process with the remaining batter.

Customization Tips :

chocolate waffle
  • Add a twist of flavor by including ½ teaspoon of cinnamon or a pinch of cayenne pepper to the dry ingredients.
  • Enhance the texture by folding in ½ cup of chocolate chips or chopped nuts into the batter.
  • For a fruity touch, top the waffles with sliced bananas, strawberries, or raspberries.
  • Drizzle your waffles with a generous amount of melted Nutella, caramel sauce, or maple syrup for an extra indulgence.

Serving Ideas for Classic Chocolate Waffles :

Serving Ideas for Classic Chocolate Waffles :
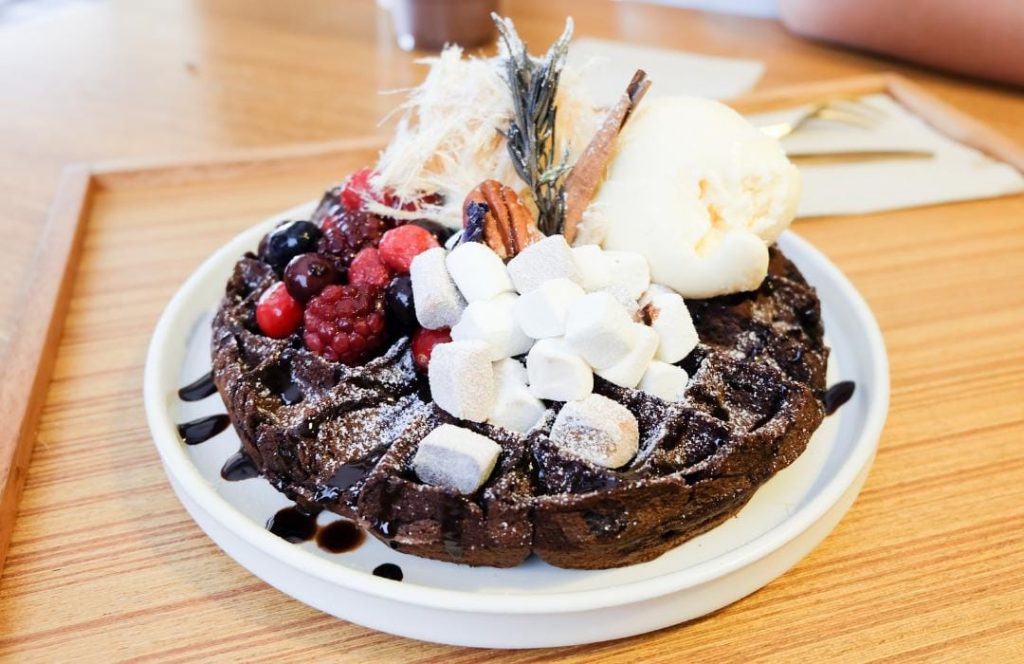
Indulge in a sweet symphony of waffle, creamy ice cream, and fresh berries.
  • Dust the warm waffles with powdered sugar and serve them with a dollop of whipped cream and fresh berries.
  • Create an irresistible dessert by stacking the waffles and layering them with chocolate ganache and a scoop of vanilla ice cream.
  • For a savory-sweet combination, serve the waffles with crispy bacon or a side of creamy peanut butter.

Get ready to savor the magic of Classic Chocolate Waffles made with a waffle maker. These delightful treats will elevate your breakfast or brunch experience, leaving you craving for more. Whether enjoyed with traditional toppings or customized to suit your taste, these waffles are guaranteed to satisfy your sweet tooth. So, grab your waffle maker and embark on a journey to indulge in the irresistible world of Classic Chocolate Waffles!

Irresistible Herb-Infused Ground Chicken Lettuce Wraps for a Light and Tasty Meal

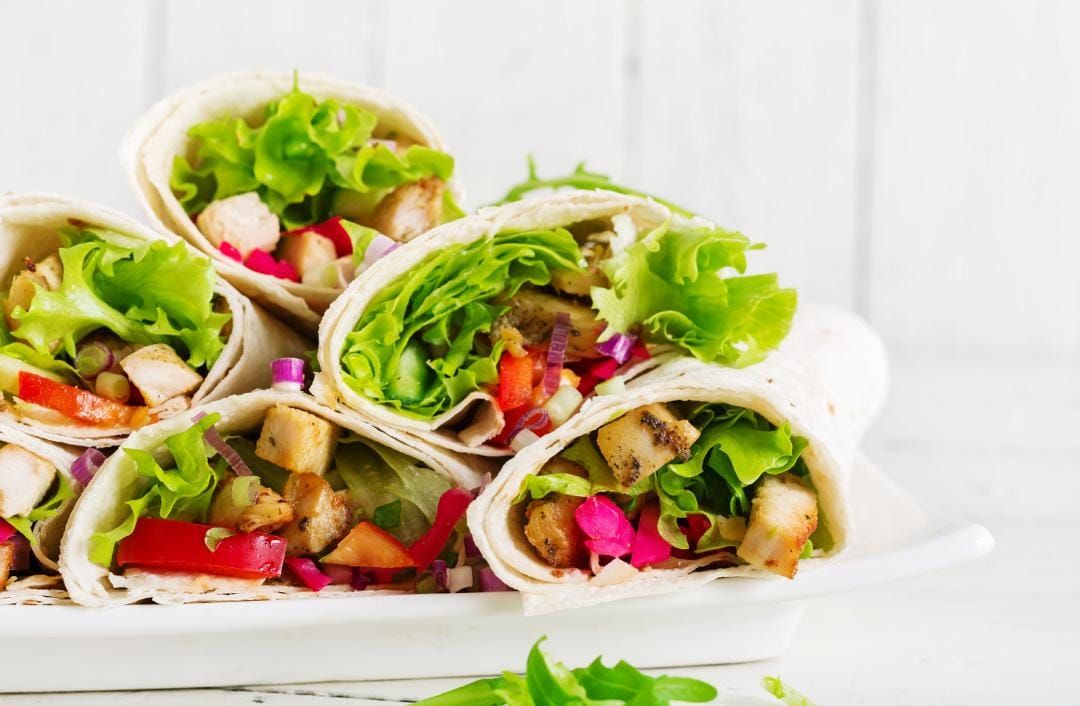
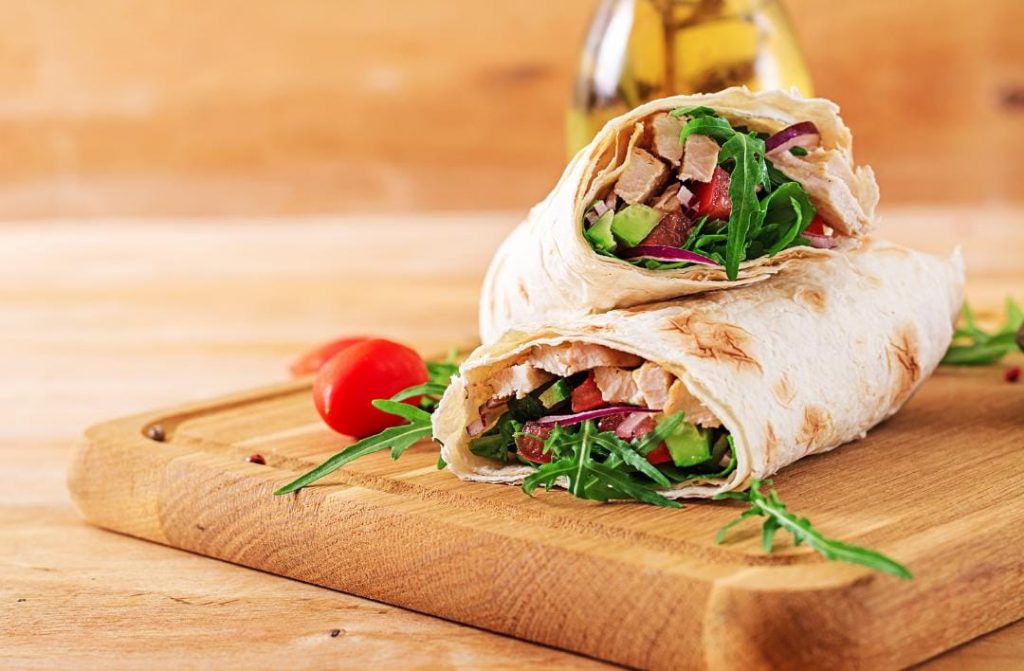
In today’s post, we’re excited to share a mouthwatering recipe for “Irresistible Herb-Infused Ground Chicken Lettuce Wraps.” If you’re looking for a light and tasty meal that’s bursting with flavors, these lettuce wraps are the perfect choice.

One of the highlights of this recipe is the use of lettuce leaves as a crisp and refreshing alternative to traditional wraps or buns. The lettuce leaves provide a light and crunchy texture that perfectly complements the savory filling.

Whether you’re planning a casual lunch, a family dinner, or even entertaining guests, these herb-infused ground chicken lettuce wraps will impress everyone. The vibrant flavors and lightness of the dish make it a crowd-pleaser that will leave your taste buds craving for more.

So, join us on this culinary adventure as we explore the art of creating these delectable herb-infused ground chicken lettuce wraps. Get ready to enjoy a light, tasty, and satisfying meal that will have you coming back for seconds. Let’s dive in and discover the secrets to making these irresistible wraps that are sure to become a new favorite in your recipe repertoire.

Chicken Lettuce Wraps
Fresh and Flavorful: Chicken Lettuce Wraps for the Win!

Ingredients :

For the Herb-Infused Ground Chicken:

  • 1 pound (450g) ground chicken
  • 2 cloves of garlic, minced
  • 1 tablespoon fresh basil, finely chopped
  • 1 tablespoon fresh cilantro, finely chopped
  • 1 tablespoon fresh mint, finely chopped
  • 1 teaspoon grated ginger
  • 1 teaspoon soy sauce
  • 1/2 teaspoon sesame oil
  • Salt and pepper to taste

For the Lettuce Wraps :

  • Fresh lettuce leaves (such as iceberg or butter lettuce)
  • 1 carrot, julienned
  • 1/2 cucumber, thinly sliced
  • 1/4 red onion, thinly sliced
  • Fresh lime wedges (for serving)

Equipment :

Instructions :

1. Prepare the Herb-Infused Ground Chicken :

  • In the Biolomix grinder, grind the fresh basil, cilantro, and mint leaves until finely chopped.
  • In a mixing bowl, combine the ground chicken, minced garlic, grated ginger, soy sauce, sesame oil, and the chopped herbs.
  • Season with salt and pepper to taste.
  • Mix the ingredients thoroughly until well combined.

2. Shape and Cook the Chicken Filling :

  • Heat a non-stick skillet or frying pan over medium heat.
  • Divide the herb-infused ground chicken mixture into small portions and shape them into patties or small balls.
  • Place the chicken patties or balls in the heated skillet and cook for about 4-5 minutes per side, or until cooked through and browned.
  • Ensure the internal temperature of the chicken reaches 165°F (75°C).
  • Once cooked, remove the chicken from the skillet and set aside.

3. Assemble the Lettuce Wraps :

  • Take a fresh lettuce leaf and place a cooked chicken patty or ball in the center.
  • Top with julienned carrots, cucumber slices, and red onion.
  • Squeeze fresh lime juice over the filling for added zest.
  • Repeat the process with the remaining lettuce leaves and chicken patties/balls.

Serving Ideas :

lettuce wraps
  1. Serve the herb-infused ground chicken lettuce wraps as a light lunch or dinner option.
  2. Drizzle with your favorite sauce, such as sweet chili sauce or peanut sauce, for an extra burst of flavor along with the chicken lettuce wraps.
  3. Garnish with additional chopped herbs or crushed peanuts for added texture and presentation.
  4. Pair with steamed rice or quinoa for a more substantial meal.

Benefits Of Chicken Lettuce Wraps :

Benefits Of Chicken Lettuce Wraps :
  1. Low in Carbs: Lettuce wraps provide a low-carb alternative to traditional wraps or bread, making them suitable for those watching their carbohydrate intake.
  2. Nutritious: Ground chicken is a lean protein source that’s lower in fat compared to other meats, and the fresh herbs add essential vitamins and antioxidants to the dish.
  3. Gluten-Free: These lettuce wraps are naturally gluten-free, making them suitable for individuals with gluten sensitivities or those following a gluten-free diet.
  4. Versatile: You can customize the filling by adding your favorite vegetables, sauces, or even experimenting with different herb combinations to suit your taste.

Enjoy the vibrant flavors and refreshing crunch of these herb-infused ground chicken lettuce wraps. This light and tasty meal is perfect for any occasion and offers a healthy twist to your dining experience. Embrace the benefits of this delightful recipe and savor each bite. Bon appétit!

Green Goddess Smoothie: Unleashing the Power of Nature’s Delight

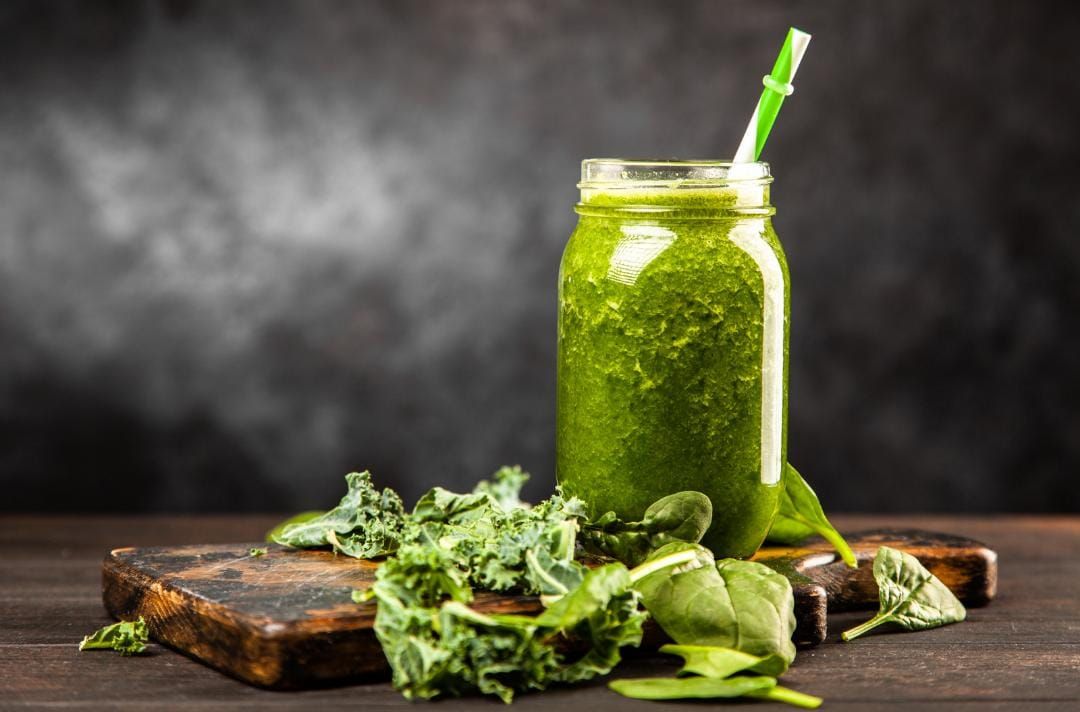
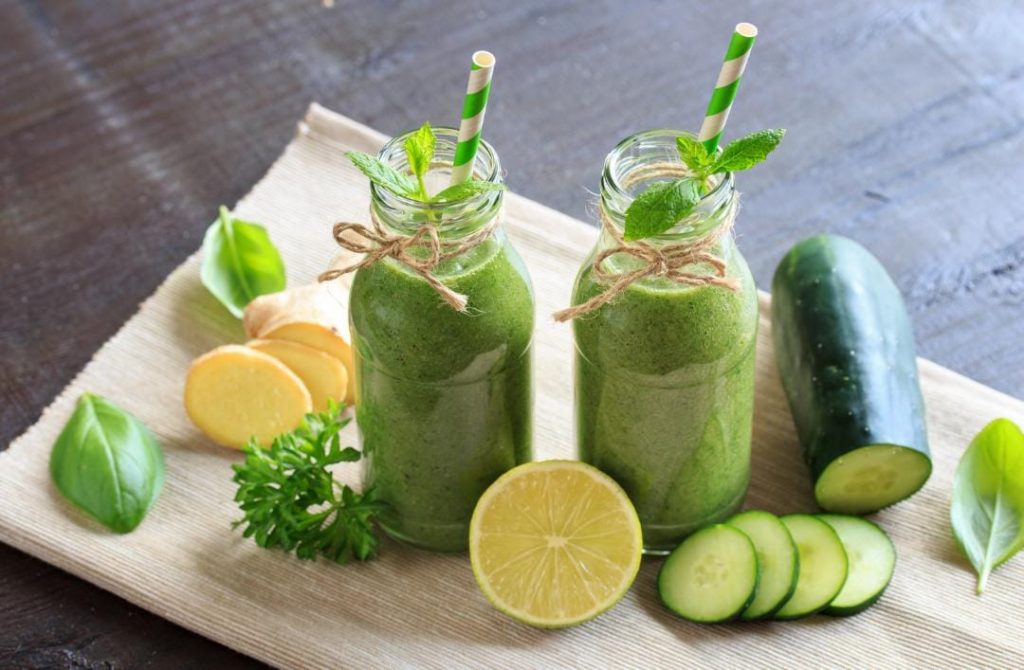
Welcome to our blog, where we’re about to embark on an exciting journey of health and vitality. Today, we invite you to explore the wonderful world of the Green Goddess Smoothie: a vibrant concoction that unleashes the power of nature’s delight.

In a world filled with processed foods and artificial ingredients, the Green Goddess Smoothie stands tall as a beacon of pure, wholesome nourishment. This emerald elixir is a testament to the incredible benefits of incorporating fresh, nutrient-dense ingredients into our daily lives.

So, whether you’re seeking a revitalizing breakfast, a post-workout refuel, or simply a refreshing treat, the Green Goddess Smoothie has got you covered. Its vibrant green hue is a visual reminder of the goodness it contains, inviting you to embrace the nourishing power of nature.

Join us as we dive into the world of the Green Smoothie, unlocking its secrets and exploring its potential to transform your health. Get ready to sip, savor, and unleash the power of nature’s delight. It’s time to embark on a journey of vibrant living and unlock the potential within you. Welcome to the Green Goddess Smoothie experience!

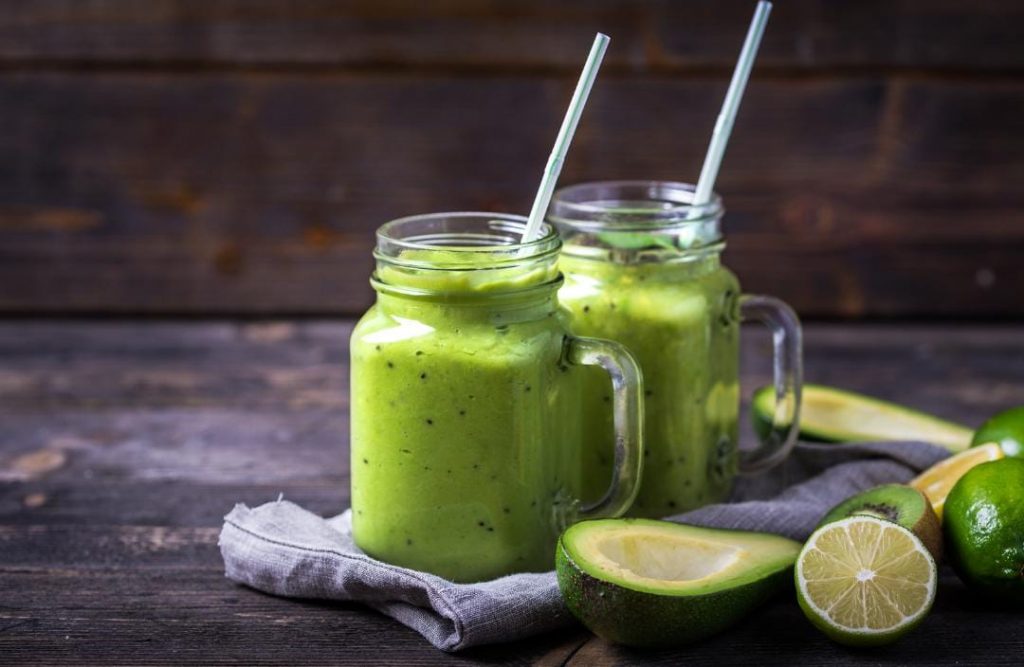
green goddess smoothie
Sip on pure health and happiness with the Green Goddess Smoothie! ????

Ingredients :

  • 2 cups fresh spinach leaves
  • 1 ripe banana
  • 1 small cucumber, peeled and chopped
  • 1 small ripe avocado, pitted and peeled
  • 1 cup unsweetened almond milk (or any plant-based milk of your choice)
  • 1 tablespoon honey or maple syrup (optional, for sweetness)
  • Juice of 1 lime
  • 1 tablespoon chia seeds (optional, for added nutrition)
  • Ice cubes (optional, for a chilled smoothie)

Equipment :

  • Power food blender
  • Measuring cups and spoons
  • Cutting board and knife
  • Spoon or spatula
  • Glasses or jars for serving

Instructions :

  1. Wash the spinach leaves thoroughly and place them in the blender.
  2. Add the banana, cucumber, avocado, almond milk, lime juice, and chia seeds to the blender.
  3. If desired, add honey or maple syrup for sweetness.
  4. Cover the blender and blend on high speed until the mixture becomes smooth and creamy. If you prefer a colder smoothie, you can add a few ice cubes and blend again.
  5. Once well blended, stop the blender and give the mixture a stir to ensure everything is evenly combined.
  6. Pour the Smoothie into glasses or jars for serving.
  7. Optionally, you can garnish the smoothie with a sprinkle of chia seeds or a slice of lime on the rim of the glass.
  8. Serve immediately and enjoy the refreshing and nutritious Smoothie!

Benefits Of Green Goddess Smoothie :

Benefits Of Green Goddess Smoothie :
  • Packed with Essential Nutrients: The Green Goddess Smoothie is loaded with vitamins, minerals, and antioxidants from ingredients like spinach, avocado, and cucumber.
  • Boosts Immune Function: The combination of ingredients in the Green Goddess Smoothie, such as spinach and citrus juice, provides a hefty dose of immune-boosting vitamins, particularly vitamin C.
  • Promotes Hydration: Cucumbers, a prominent ingredient in the Green Goddess Smoothie, are high in water content, aiding in hydration.
  • Promotes Radiant Skin: The vitamins and antioxidants present in the Green Goddess Smoothie, along with its hydrating properties, can contribute to healthy and glowing skin.
  • Supports Weight Management: The Green Goddess Smoothie can be a great addition to a balanced diet for weight management.

Serving Ideas :

 Green Goddess Smoothie :
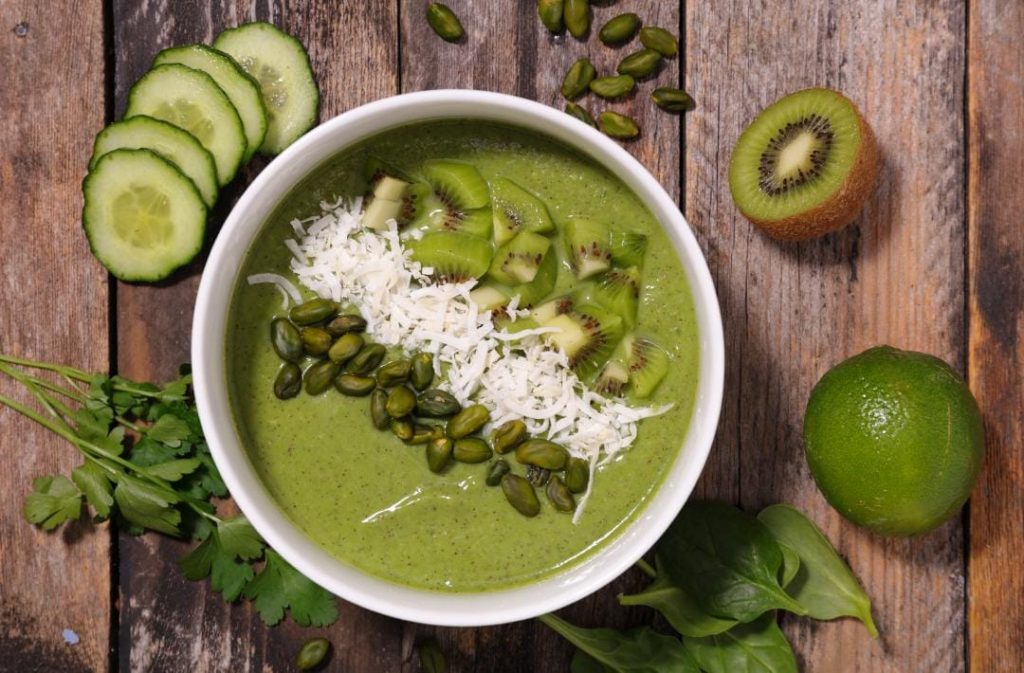
  1. Smoothie Bowl: Pour the Green Goddess Smoothie into a bowl and top it with your favorite toppings.
  2. Pre- or Post-Workout Fuel: Enjoy the Green Goddess Smoothie as a nourishing pre- or post-workout snack.
  3. Breakfast Boost: Pair the Green Goddess Smoothie with a light breakfast for a nutritious start to your day. Enjoy it alongside whole grain toast, a bowl of overnight oats, or a side of protein-rich Greek yogurt.
  4. Smoothie Popsicles: Pour the Green Goddess Smoothie into popsicle molds and freeze it for a cool and healthy treat.
  5. Mocktail Mixer: Get creative and use the Green Goddess Smoothie as a base for mocktail creations. Add a splash of sparkling water, a squeeze of lime, or even a sprig of fresh basil for a unique and refreshing non-alcoholic beverage.

We hope you enjoy this Green Goddess Smoothie recipe! It’s a delicious way to incorporate nutrient-rich greens into your diet. Stay tuned for more healthy and flavorful recipes using your power food blender. Cheers to good health!