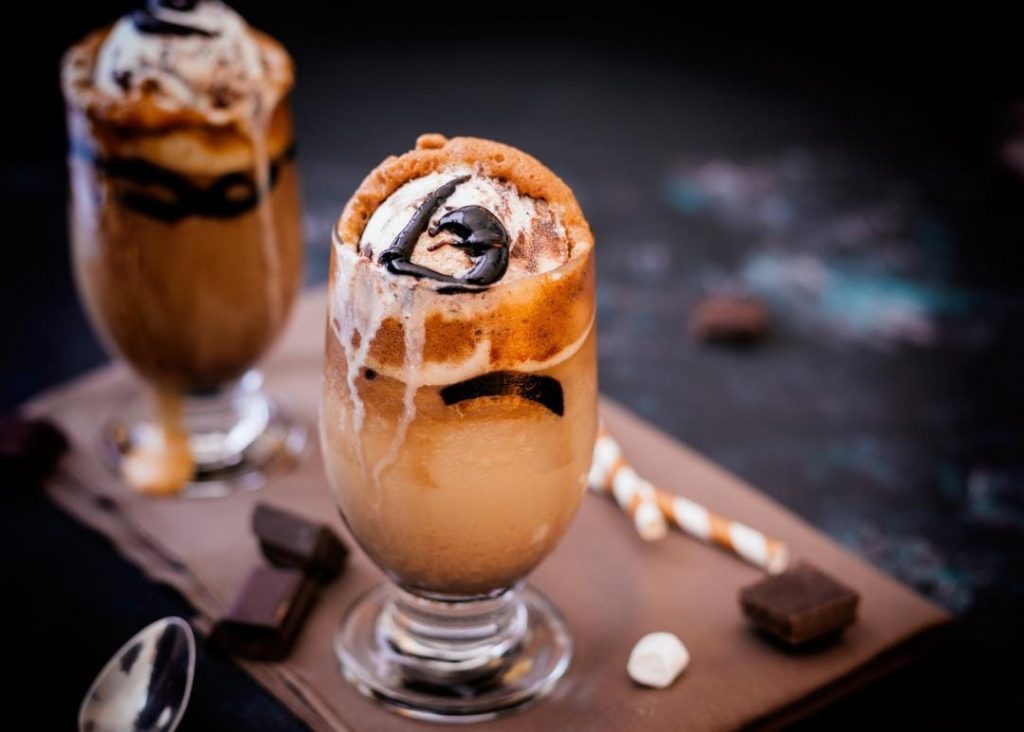
Iced Cappuccino Delights: Cool Coffee Perfection for Summer
As the temperatures rise and the sun shines brighter, our cravings for a refreshing coffee treat become more pronounced. But fear not! We have the perfect solution to satisfy your coffee desires without sacrificing a moment of refreshment. Get ready to indulge in the cool and creamy perfection of iced cappuccino delights.
We’ll share a variety of customizable ideas to help you put your own spin on these delightful concoctions. From adding a drizzle of chocolate syrup to sprinkling cinnamon for an extra kick, we’ll inspire you to create your signature iced cappuccino that reflects your unique taste and style.
So, grab your favorite coffee mug, a few ice cubes, and let’s embark on this flavorful journey together. Get ready to experience the cool coffee perfection that will make your summer mornings, afternoons, and evenings a delightful oasis of refreshment. With our iced cappuccino delights, you’ll sip your way to a state of caffeinated bliss. Let’s get started!

Ingredients :
- 2 shots of espresso or 1/2 cup of strong brewed coffee
- 1 cup of cold milk
- 1 tablespoon of sugar (adjust to taste)
- Ice cubes
Equipment :
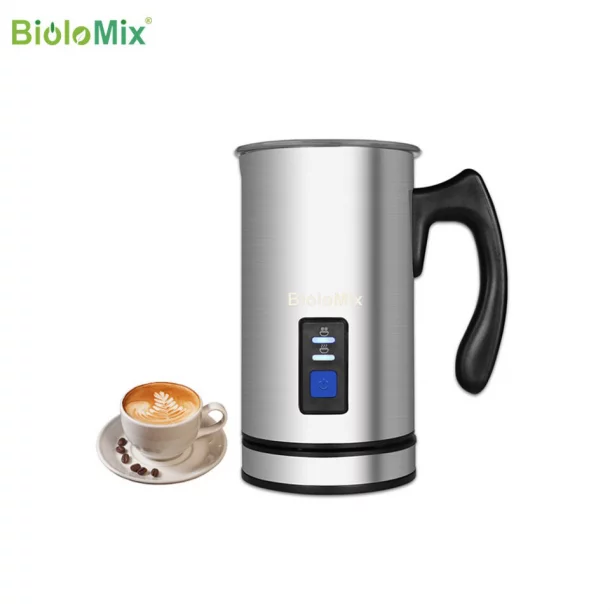
- Electric milk frother
- Espresso machine or coffee maker
- Tall glass
- Spoon or stirrer
Instructions :
- Brew the Espresso: Start by brewing 2 shots of espresso using an espresso machine or your preferred coffee maker. If you don’t have an espresso machine, you can use 1/2 cup of strong brewed coffee instead.
- Froth the Milk: Pour the cold milk into the electric milk frother and follow the manufacturer’s instructions to froth the milk. The frother will create a creamy and velvety foam that adds texture and beauty to your iced cappuccino.
- Sweeten the Espresso: While the espresso is still hot, add sugar to taste and stir until it dissolves completely. This step ensures that the sweetness is evenly distributed throughout the drink.
- Chill the Espresso: Allow the sweetened espresso to cool down to room temperature. You can speed up the process by placing it in the refrigerator for a few minutes.
- Prepare the Glass: Fill a tall glass with ice cubes to create a frosty base for your iced cappuccino. The ice will help keep your drink cool and refreshing.
- Combine the Ingredients: Pour the chilled sweetened espresso over the ice cubes in the glass. Slowly pour the cold frothed milk on top of the espresso, allowing it to gently blend with the coffee.
Customize Your Iced Cappuccino :
Get creative with your iced cappuccino by customizing it to your taste. Here are a few ideas :

- Add a drizzle of chocolate syrup for a mocha twist.
- Sprinkle cinnamon or cocoa powder on top of the frothed milk for an extra flavor kick.
- Stir in a splash of vanilla extract or caramel syrup for a hint of sweetness.
- Experiment with flavored syrups like hazelnut, almond, or peppermint for unique variations.
Serving Ideas :
- Garnish the rim of the glass with whipped cream and a sprinkle of cocoa powder or cinnamon.
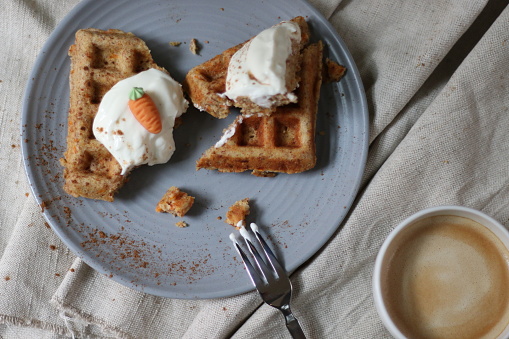
- Serve alongside a delicious pastry, such as a croissant, muffin, or biscotti, for a delightful breakfast or afternoon treat.
- For an extra indulgence, top your iced cappuccino with a scoop of vanilla ice cream or whipped cream and drizzle with caramel or chocolate sauce.
With the help of an electric milk frother, creating a refreshing and invigorating iced cappuccino is a breeze. This recipe allows you to enjoy the rich flavors of espresso and frothed milk, combined with the coolness of ice, all in one delightful beverage. Customize it to your liking and serve it with flair. Stay cool and savor every sip of this perfect summer.